These little Splayed Leg Tables and one to the most versatile tables I have made. Everyone loves them and there are a multitude of places they are handy, both permanently and temporarily.
I quereied a few woodworkers I am in conversation with and asked them if they had ever made one of these table and surprisingly to me, none had and most thought the joinery, that is connecting the legs and an angle would be problematic for them, when I asked how they might go about it, most had quite complicated ideas of how to make these tables when it really is quite simple.
Quick Link - Tooley Park Tools use code tooley105 for 15% off sale ending Sept. 30, 2026
I started off with a 12" wide, Live Edge, Spalted Alder board that would be the top. For the legs, I had a very ugly 6 foot by 2" Chestnut board that had cracked length wise quite severy since I had acquired it a year ago. The only real way to salvage most of the wood was cutting the board lenghwise and pick and choose clear pieces of wood from the cuttings. It was fortunate that I was making tapered legs because some of the cracking allowed me to cut off those pieces and end up with some very solid legs.
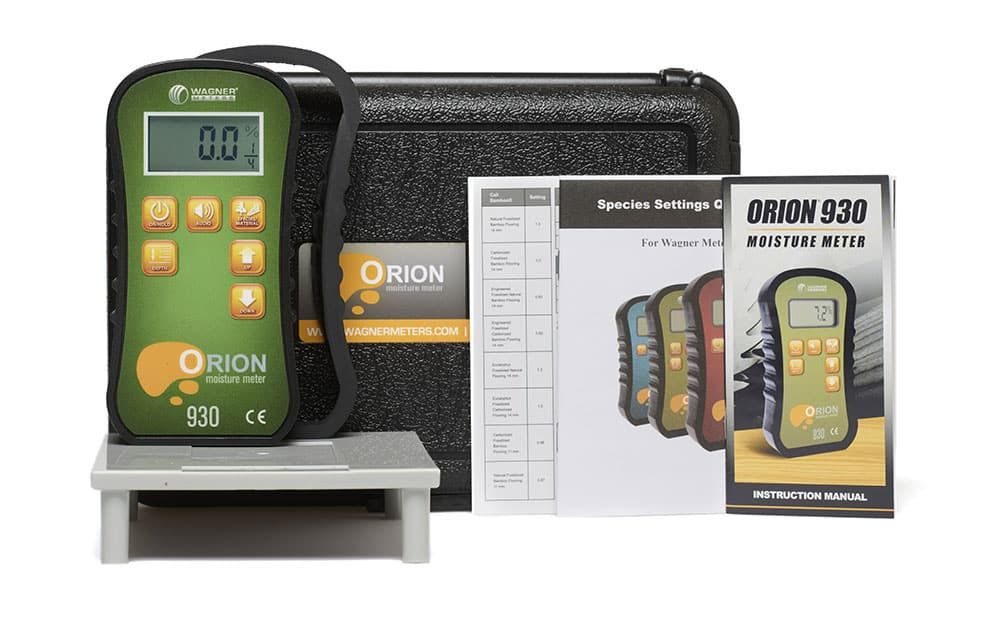
I always, always, always check the moisture content of my wood, so much of woodworking, joinery, gluing and finish require a moisture content to often be below 12% and the Wagner Moisture meter below is one THE best woodworkers tools for doing this.
I ended up cutting the rough wood on my bandsaw as it is the safest way to cut wood that his not flat and straight. Once it has been cut on the bandsaw and most of the twisting is out, it is now easy to run through the jointer to get 2 opposing flat and straight edges which in my case was off to the table saw and my shop made tapering jig.
Cutting The Legs
I cut the legs on a jig I made several years ago specificaly for cutting angles or 90 degree cuts when the wood is uneven or at an angle. It works perfectly and is highly adjustable for small and large boards.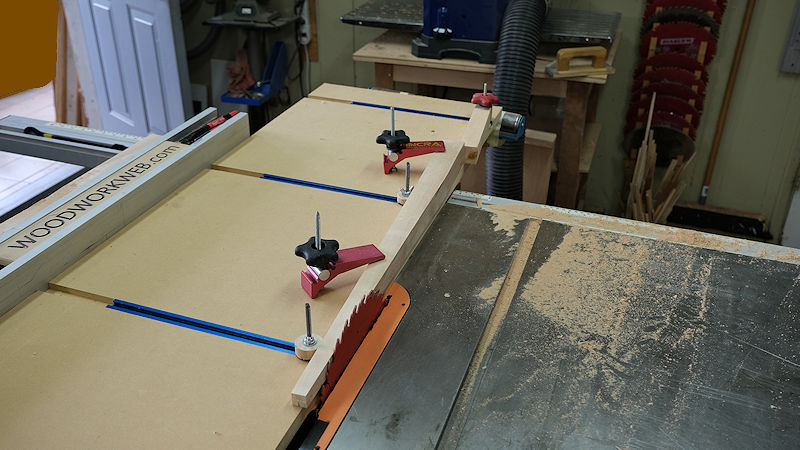
If my jig looks complicated, it is a bit, but super handy for almost anything I encouter, but there are alternatives.
Like a simple shop made or commercial made tapering jigs like those shown below ... OR ...
Both of the jigs shown below are available throught the Amazon at the Woodworkweb Amazon Store
 |
 |
Another option is to mark the tapers on the wood and go back to the bandsaw with fine blade and hand cut those tapers slowly and carefully following the line, then trimming the edges with a hand plane or possibly even a jointer. Either way, with a bit of time and effort, will give a very suitable result.
Joinery
For jonery, you could use a variety of tools, or even hand cut your own mortise and tenon joints. Many of you already know that Dowelmax Doweling jig is my preferred tool due to it's ease of use, versatility, accuracy and the strength you can get with this tool at what I think is an extremely economic price ... for me it brought much more fun back to woodworking.
Many other tools would work equally fine, if you have them.
I am an Affliate Dealer for Dowelmax and you can order one HERE or Click the Image Below to see more info
I didn't show in the video, but the hole drilling to attach the sides and front and back aprons to the legs was this. The sides I used 2 holes only in the Dowelmax, holes 2 and 4, for the front and back aprons I used 3 holes of the Dowelmax, hole 1, 3 and 5. The purpose of this is 2 fold. By using the 2 inch long dowels it allows me to drill holes on each side of the leg that do not interfer with one another but slide nicely between. And with the 2 inch long dowels and the 30 minute Epoxy Glue is gives a super solid structure.
Gluing
In terms of gluing, for this set-up I decided to go back to the Starbond 30 Minute 2 Part Epoxy, since trying it a few weeks ago, it has become a NEW Go-To glue for my workshop, yes it takes a bit longer to set up and harden, but "Open Time" is worth all of that in order to make sure all your joints and sides are lined up, square and adjusted before the glue starts to set. Another game changer for me.
Click Below to go directly to Starbond to View or Purchase Fresh Super Glues and Epoxy Glues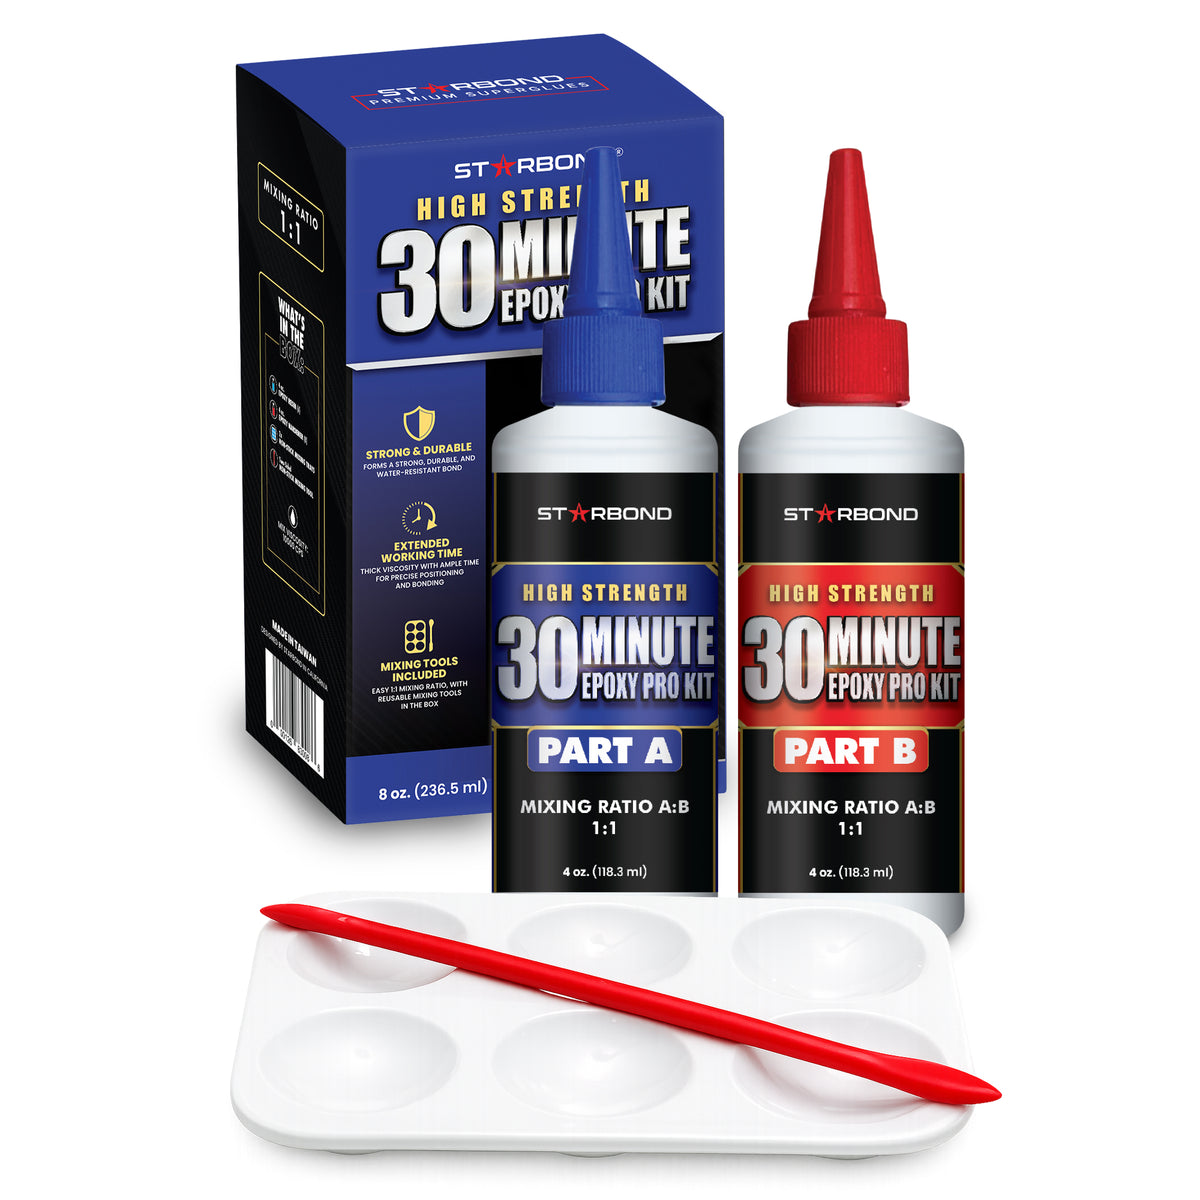
Finishing and Leg Color ... (No It's Not Oil Based Stain)
For the "colorant" for almost 2 decades I have used water based Aniline Dyes. I like the fact they raise the grain slightly, that way I can re-sand lightly with 600 grit for a super smooth base for the top coat. For this build I used Osmo 3043, a very hard, easy to apply finish that leaves with with a "satin" or "stipple" look, not glossy and not flat, a perfect in between. Something that shows a hint of light reflecting back but not enough to hide the color and texture of the wood
Attaching the Top
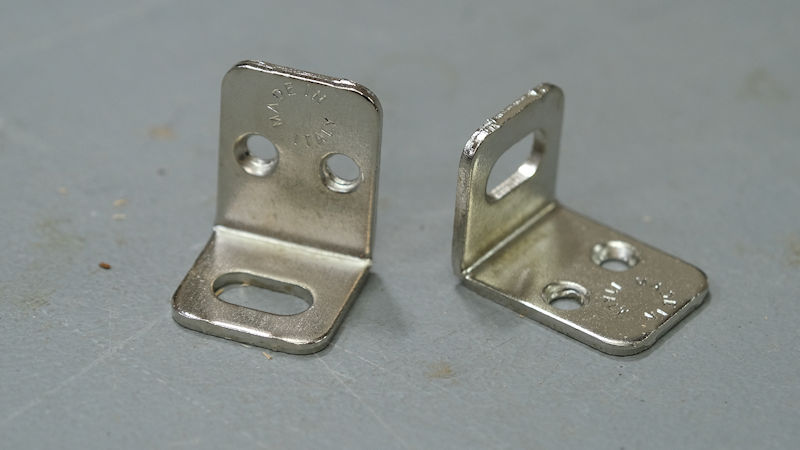
Due to constant "wood movement" particularly in wider boards such as the 12" wide top on the Splayed Leg Table, I know that wood will move back and forth across the width of the board to to preven any cracking of that wood, I always use these metal corner pices. You can see that one side comes with a slot so that the wood can move back and forth. I purchase mine from Lee Valley Tools.
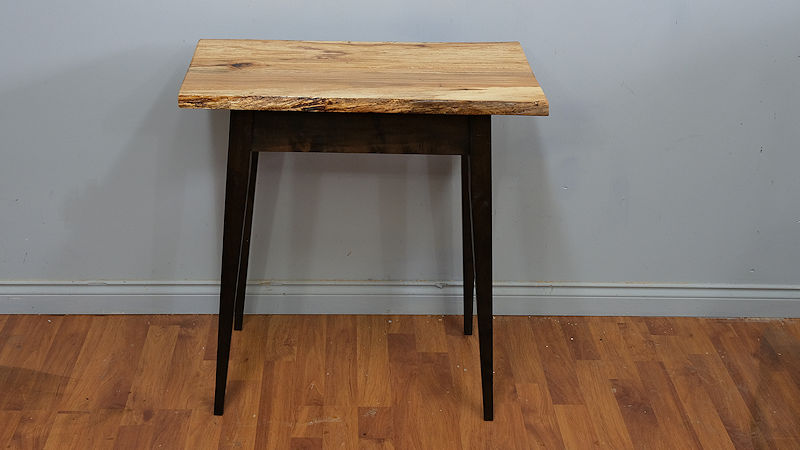
The Finished Table
Before I got a chance to finish photographing the little table, my wife had already claimed it as a special table for her Christmas Catus Collection. Something she fusses with A LOT evey year and does get some lovely results most years. It's an ongoing process for her and I try to keep out of the way ....
Thanks for watching everyone, and hope to see some of you at the Texas Woodworking Festival in last weekend
Colin Knecht