Jointers can be one of the most frustrating tools to set up and to use, and sometimes it isn't even the machine, sometimes it's the wood that's the problem all along, but we blame it on the machine or how we set up the jointer. In this article, I will be talking about using the jointer, and referring back to an older video and article I made on setting jointer knives if that is the information you are looking for. Both of these articles and videos are important to understanding ... AND getting good results.
Wood Jointer Tips for Setting Up and Using a Jointer
The first thing to know, even before you start to set the knives, the in-feed, out-feed or the fence, is to MAKE SURE you have excellent quality measuring tools ...
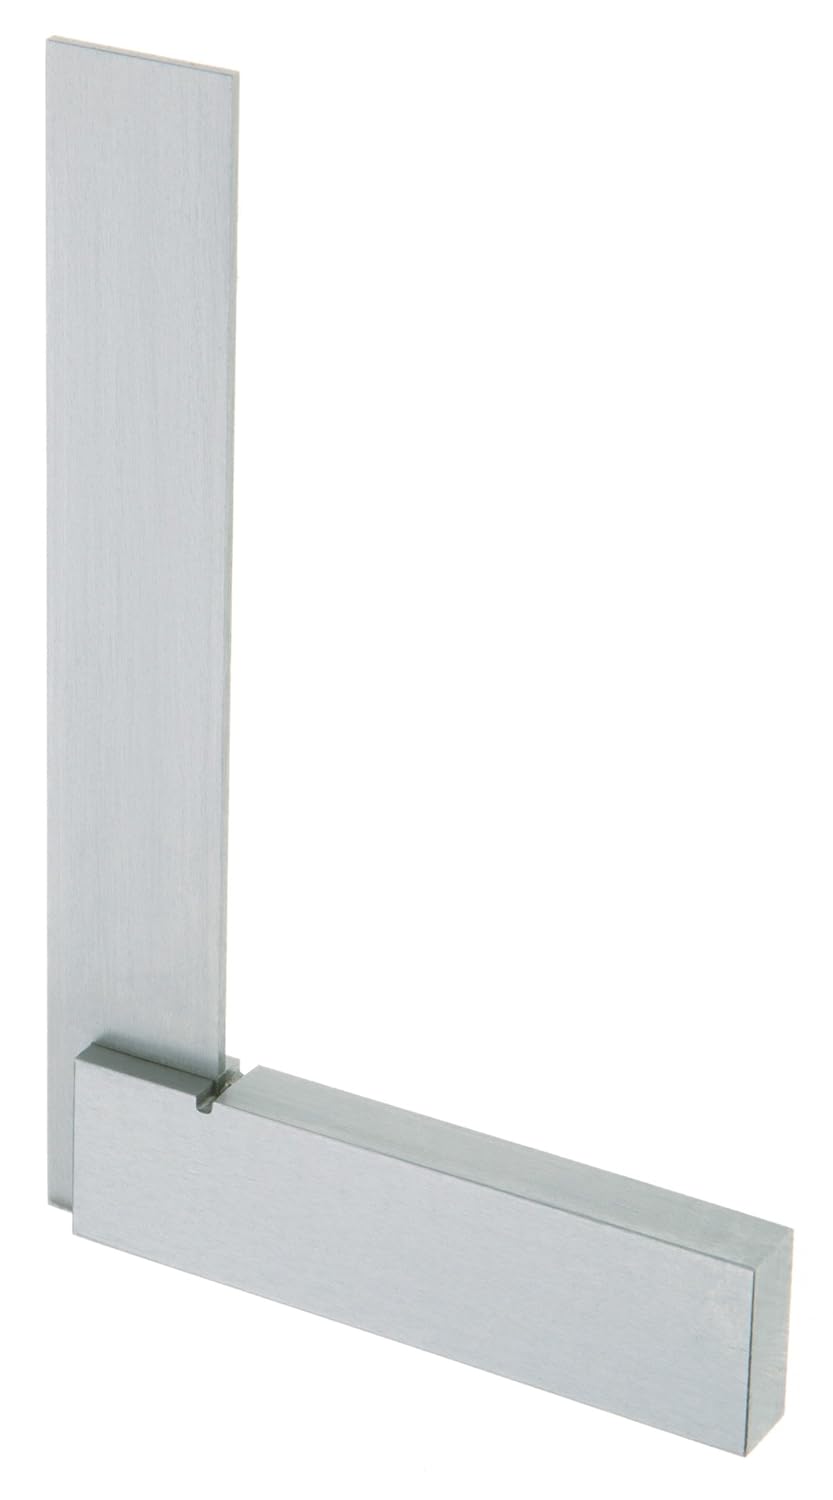
I do NOT recommend using Combination or Tri-squares for setting up jointer fence and if you are checking that the in-feed and out-feed tables are parallel, make sure that the straight edge you are using IS straight. There are many, many different combination squares and all sorts of prices and not all of them are square. What I highly recommend is a fixed Engineers square for setting up the jointer fence and it's always a good idea to check any square that you have to make sure it is square.


The next thing to keep in mind when jointing wood is that there are a number of reasons why wood may not be flat and true. Wood is an organic material and as we all know, wood moves. It can move from built-in tensions within the wood that we can't see, and it can move from absorbing and releasing moisture. These movements can occur instantly such as when the wood is being cut, planed or jointed or it can occur over time from anywhere from hours to weeks. Always keep in mind that wood can and does move.
For information on Setting Jointer Knives, refer to this article and video - REVISITING SETTING JOINTER KNIVES
Once your jointer has been set-up it's time to run some wood through it.
As a rule, we joint the face side of a board first, unless the board is too wide for the jointer, then it needs to be trimmed to on either a bandsaw or a table saw. If it is going to be trimmed on a table saw, you will NEED one straight edge and one face to be as flat as possible on the board in order to make it safe to cut. This means the first jointing that needs to be done is the edge of the board. If one face side is near flat, this should be fine to run through a table saw, as long as the board is NOT TWISTED. We are trying to reduce kickback so it is best to have 2 sides of the board as flat and straight as possible for a table saw cut. If this is NOT the case, you are best to trim the board on a bandsaw to make it wide enough to run through your jointer.


When the board has been trimmed to fit the jointer, joint one "face" edge.
Start the wood on the in-feed table and begin pushing it through the knives using good quality Push Blocks that will "grab" the wood as you push it, until the point where you can safely connect with the wood on the Out-Feed Table (usually after 8 - 12 inches of wood has moved to the outfeed table) then continue pushing the board, using the push blocks and allowing the trailing edge of the board to be dragged across the jointer knives naturally.
You may need to make more than one pass depending on how rough or bowed or warped the board may be and several passes, depending on your blade height and wood roughness or bowing, may be needed.
Once you are satisfied that the board is flat and straight, now is the time to trim one of the edges. Do this in a similar manner but this time lay the face of the board that has just been jointed, up against the jointer fence at the in-feed table. Start pushing the wood through the jointer knives until there is enough wood on the outfeed table that you can safely push the wood from the out-feed side of the jointer.

This method of moving the pushing pressure from the in-feed to the out-feed side of the jointer is not only safer for the user, but it also helps to ensure a better quality woodcut.
When you are satisfied that you have one straight and flat face side of the board plus one straight and flat edge side, is also at 90 degrees to one another, now is the tike to finish the board and make it parallel on all r sides. You do this by using a thickness planer to make the face side parallel, and also the table saw that will make the edge sides parallel. If often does not matter which machine you use first, the planer or table saw. I usually pick the table saw so that there is less wood for the planer to flatten.
Wood Movement AFTER JOINTING, PLANING, CUTTING ...
One thing to keep in mind - always - is that wood can and does move, for 2 reasons,
1) there are sometimes internal stresses within the wood that developed as the tree grew that will expose themselves after the tree has been cut, dried and cut into boards. There is often nothing that can be easily done with this. Boards that warp or bend immediately after cutting, planing or jointing are usually caused by this.
2) all wood, even kiln-dried wood, is constantly absorbing and giving off moisture and sometimes just planing or jointing wood can cause the wood to warp or bend because the internal moisture has been allowed to dissipate quickly. Boards that warp or bend hours or even day after planing or jointing are often caused by moisture in the board. Sometimes these boards will stabilize and return flat, other times they will remain warped or bent and will need further work to make them straight and flat.
In an ideal world, we would all love to work with wood that is always straight and flat, but very often there are a small number of boards that are unruly and that is just part of woodworking, so don't blame your jointer, table saw or planer ... it might just be the wood.
If you follow these methods, much if not all of your wood jointer frustrations should be alleviated and the results will be nice straight square wood.
Copyright Colin Knecht
woodworkweb.com


