In this episode I have a mixed bag of my own and other peoples tips and tricks to share, for all around the workshop to save you time, sometimes save you money, and always to help get the job done more conveniently ...
Watch it on Youtube: https://youtu.be/1p_hZHzdg3M
The first tip is something I learned a long, long time ago and haven't used for many years, but popped back into my brain a few days ago when I need to draw some parallel lines and I remembered this trick ...
It's pretty easy ... take 2 common nails of an appropriate size, like 3 inches, sharpen one edge on both of them ... (the head of the nail on one side).
The idea is to then mount these 2 nails on a board and use the 2 of them as a marking gauge. If you take the time, with the correct nails, you can get a very nice end result. 
For those of you who might ask, that punch is from Ally Tools and available on Amazon HERE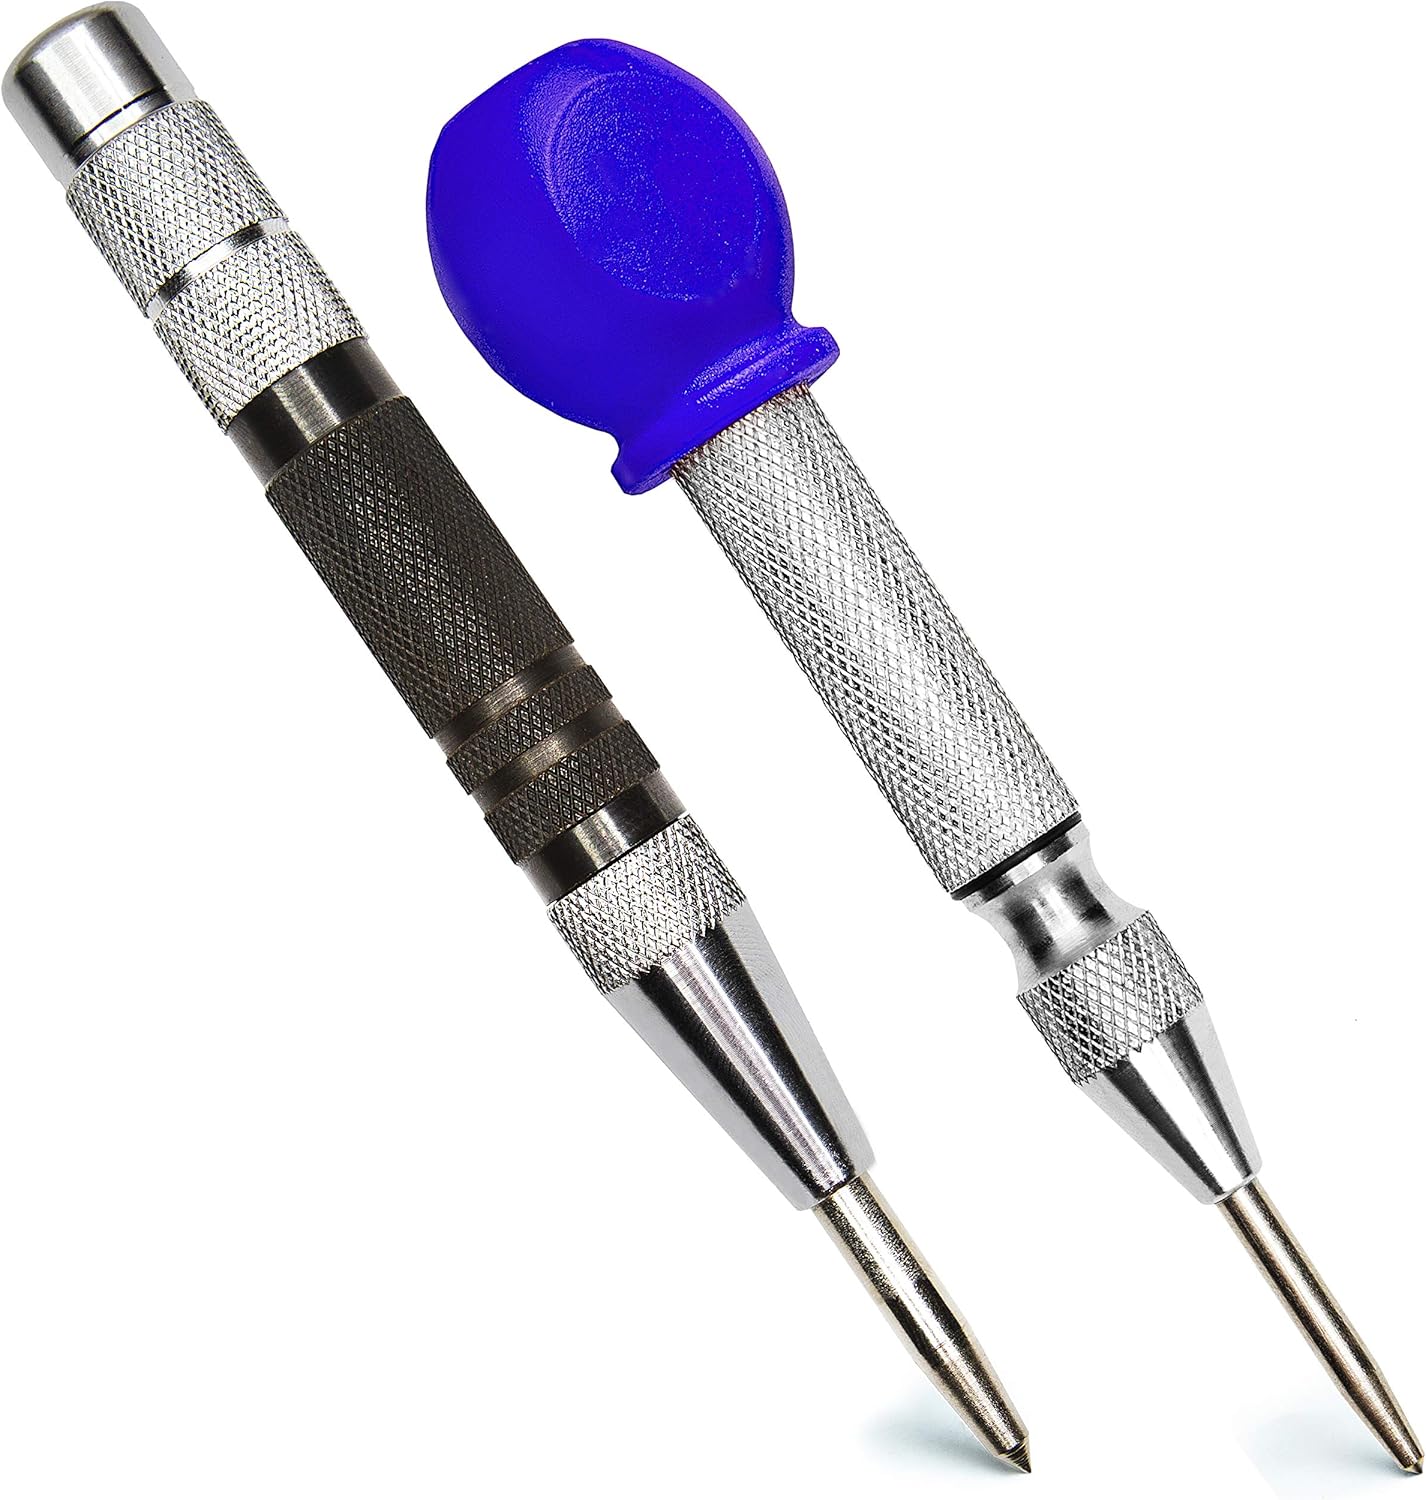
Many kinds of clamps come with rubber or plastic "jaw guards" to help reduce or eliminate marks on wood that can happen with excessive clamping. Often these pads fall off, get brittle and break or otherwise go missing. Colin from Wales suggests using self-adhesive pads for table and chair feet. They are inexpensive to purchase and the ones I get are super sticky and I often even find them at the dollar store in a variety of sizes, a good solution for almost any clamp that you need a non-marring jaw.

Here's a tip I often use when working with specialty plywoods that have that micro-thin veneer on them. In this case, it is an oak veneer and hard to measure but it looks like 1/32" ... that doesn't give you much room for error when trying to sand down an edge piece you have attached and trying to make it flush with the plywood. The solution is to make some matching marks on the plywood and the edging. You will quickly see that the pencil marks on which every surface are higher, get sanded away before the other side, which lower. In my case the edge that I attached is higher than the oak plywood so by re-marking the edging, I can carefully sand it down to the lever of the plywood.

Here is the best way to check your squares to make sure they are in fact square. I like to use the factory edge of MDF if I have some, otherwise, any sheet good with a straight edge will work. Lay your square on the level edge and carefully draw a line down the edge of the square to the bottom. I often use a marking knife for this, it gives a tiny bit better line.
Next, flip the square 180 degrees to the other side, align the square edge closest to the top and see how the base falls for being square, and draw another line. If one line does not perfectly overlay the first line, the square is off. If both lines perfectly overlay the square is in fact square.
For this demonstration, I used a combination square that I purchased about 25 years ago. Unfortunately, I found out the hard way, making picture frames that I could never get to align, that it was the square that was out and not me cutting or measuring them. I won't talk about how much expensive picture frame wood I used up before discovering my combination square was not square. As you can see, this square has not seen much use in the last 24 years ... 

Here's a neat idea from Glenn to get your squares off the workbench and always in a place where you know you can find them. He made these holders that attach with a screw on the side of the workbench and can hold a variety of squares, you could even have 2 or 3 of them or perhaps even double them up ... great handy idea Glenn ... thanks

Here's another tip from Mamma "C", that comes in hand for cross-cutting small parts on a table saw sled. In her case she was able to attach her toggle clamps directly to the base of her sled, but the base of mine was a bit then so I need to hot-melt glue a little square block of plywood to mine that would allow me to attach my toggle clamps without the screw protruding and scratching the surface of my table saw deck ... the nice thing with using hot melt glue is that it does come off quite readily, often a what with a hammer will do it, but these require a bit more finesse with one of my old chisels, it was easy to pop off ... thanks Mamma C.

***** Don't forget if you have a tip, idea, or jig ... send it into me and if I can use it in the video I will give you a shout out for it, and that way we all learn together who to be even more adept at our woodworking ..
copyright Colin Knecht
woodworkweb


 Click here for Amazon Canada Page Links