Pocket hole technology has been around for a long time and it continues to be the "go-to" technology for new woodworkers owing to it's ease of use and how quickly even novice woodworkers can start producing some satisfying results with their woodworking. There are many different brands of pocket hole jigs, some are easier to use than others, but many of them can befall the same working issues unless you are aware of a few basic techniques.
Watch it on Youtube: https://youtu.be/bOrQ9lH8qSc
Just like any other woodworking tool, like a table saw or planer, the first thing is to check to make sure the tool is set to the proper settings which saves time and more importantly ... wood ...
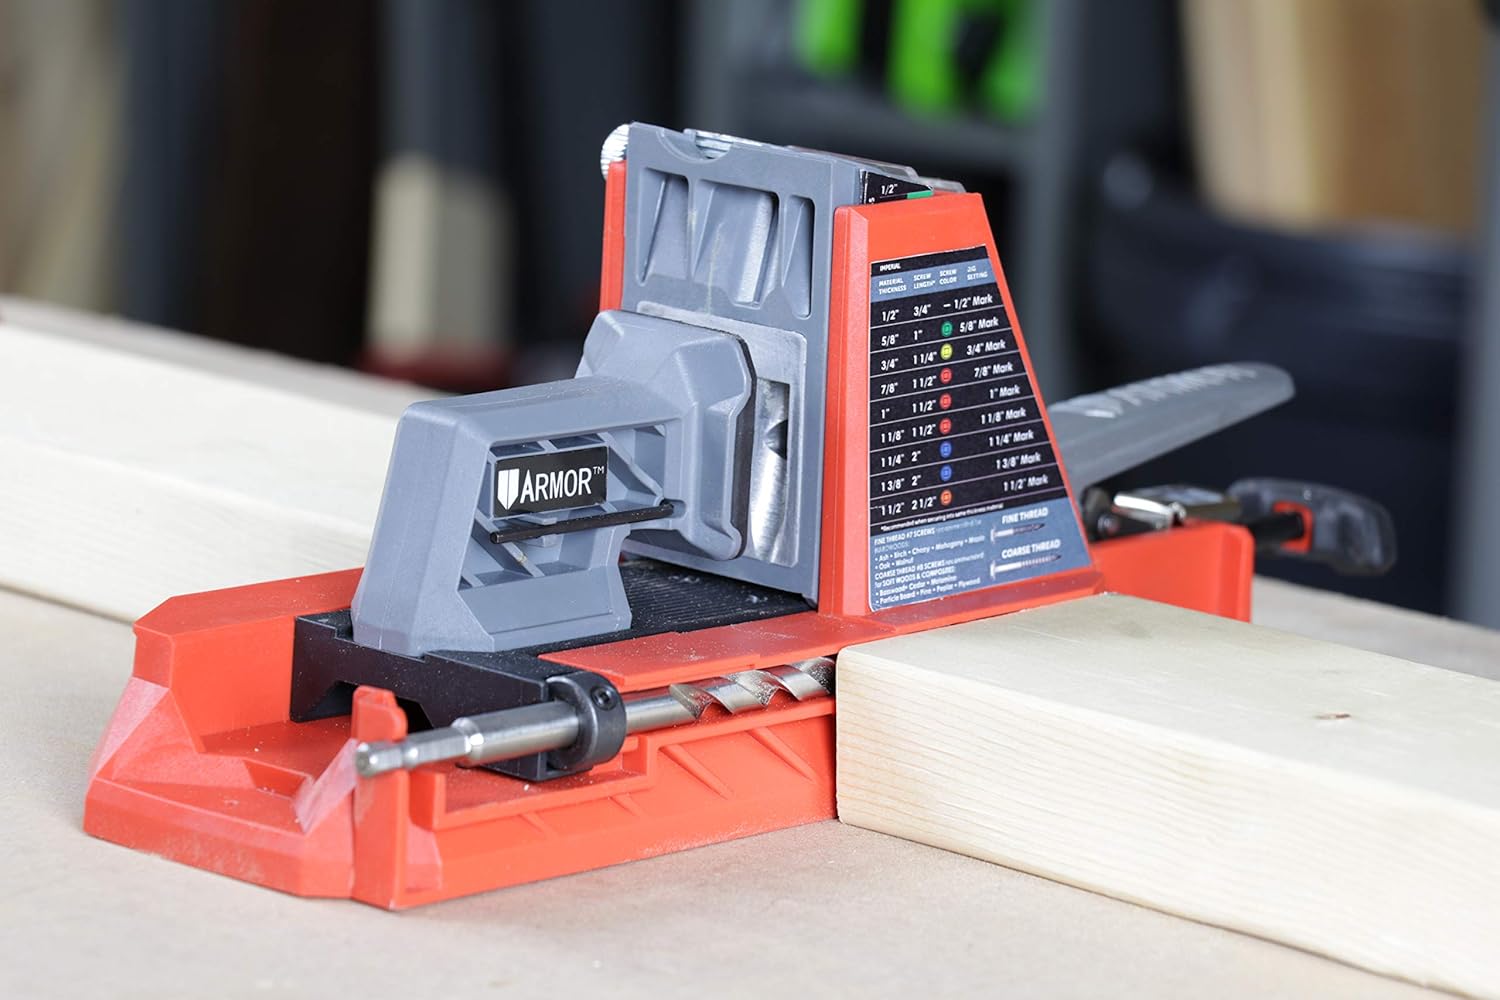
Some pocket hole jigs are self-adjusting while others need to be pre-set and the better ones have built-in scales on them to help the woodworker in selecting the right setting for the wood they are using, like in the picture below, the jig is set at the 3/4 mark for use with 3/4 inch thick woods. Setting this wrong means the screw may not grab the wood properly, or that the screw will protrude the wood on the backside.

Setting the depth stop on the drill bit is just as important as setting the jig for the thickness of wood you are using. Again if the collar on the drill bit is set wrong, or not tightened properly, the resulting holes could be too shallow or too deep depending on wood and the length of screws you are using, and again, some of the better jigs even have a scale on them to help the woodworker set the proper collar adjustment to get optimum pocket hole depth.

Here is the Armor "Self Adjusting" pocket hole jig available through Amazon
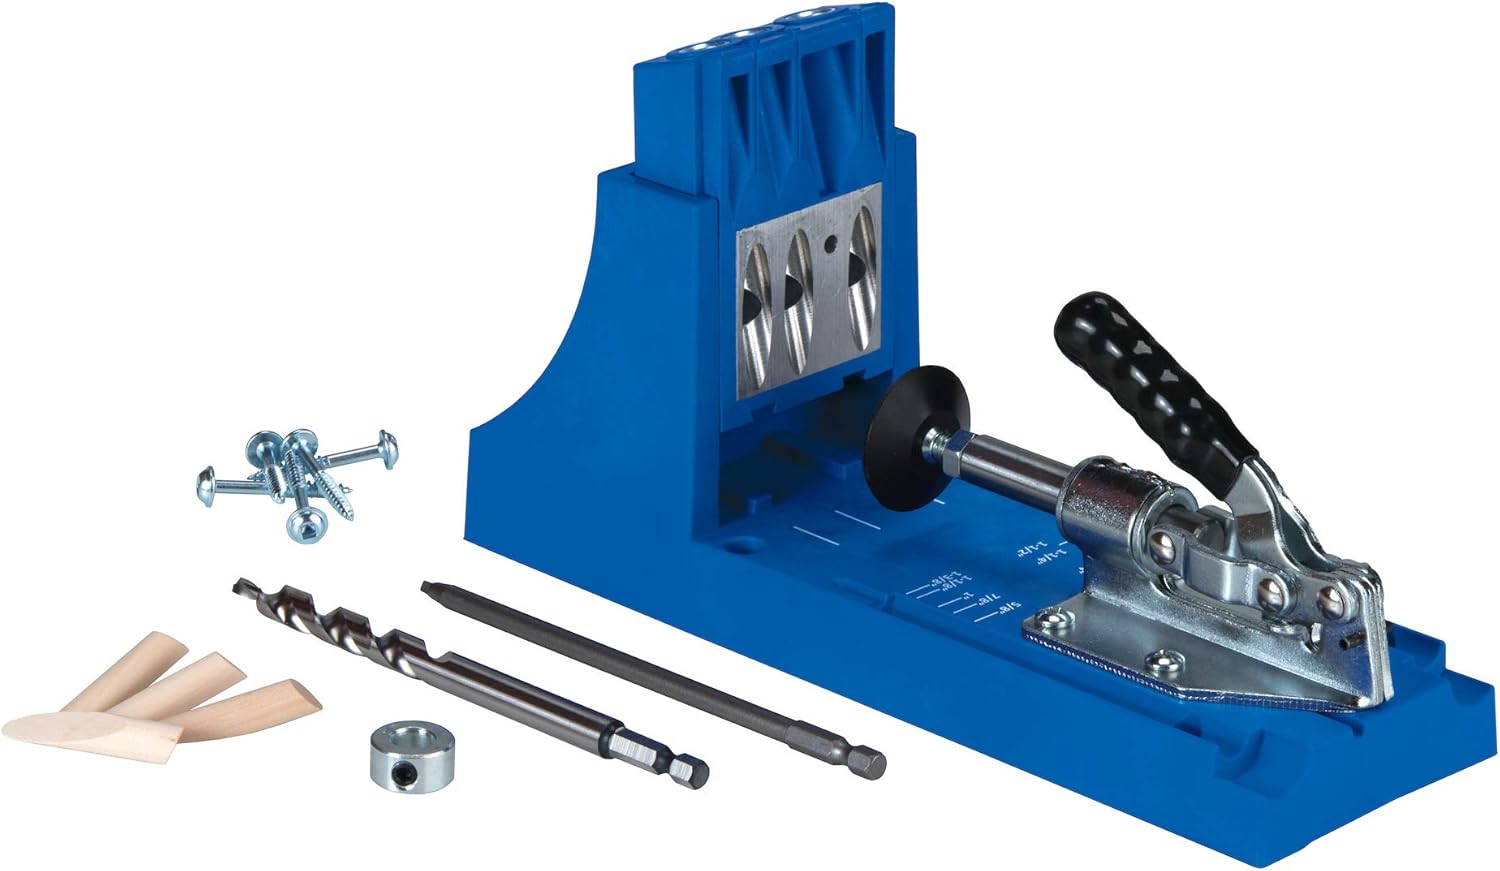
This is the Kreg "manual setting" Pocket Hole jig available from Amazon
With any pocket hole system, you need to avoid thinking in traditional ways and begin to think and plan "Upside Down and Inside Out". The reason for this, is with projects like tables, bookcases, and cabinets, the pocket holes often want to be placed on the underside of the project so they cannot be seen and for the assembly, it's often best to work from the inside out because in many cases you are working in a confined area and don't always have the room for inserting and tightening screws so to help mitigate that issue, if you can turn your project upside down on your workbench and star the assemble at what will be the top and work toward the bottom, that is the easiest formula for pocket hole assembly.

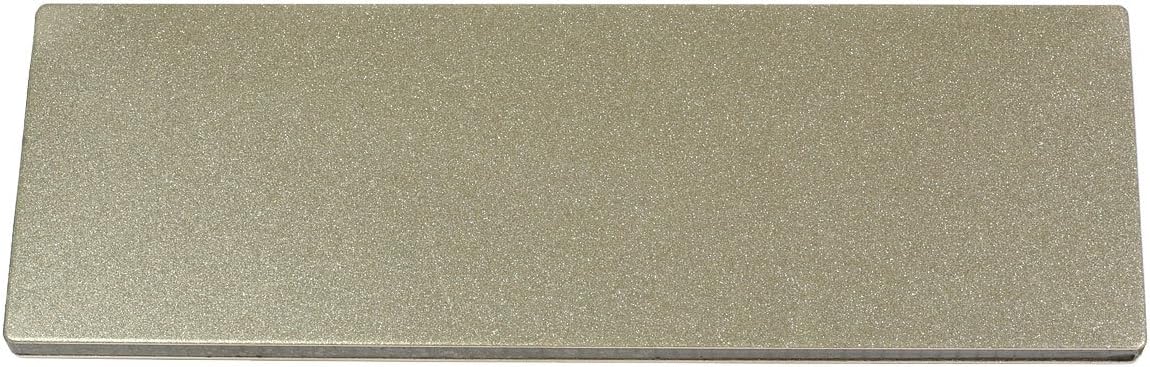
One of the causes of ragged edge pocket holes is dull drill bit tips, so avoid these, pocket hole drill bits can be sharpened, but be careful not to sharpen too much, often 2 or 3 passes with a 600 grit diamond sharpening card will do the trick. I prefer these over small files because they are less aggressive and tend to sharpen rather than gouge, which can happen with small three-sided files. 
Double-Sided Diamond Sharpening Card available through Amazon
One of the biggest challenges in using pocket holes is selecting the kind of wood to use. In the video, you can see which woods are stronger and which are weaker. MDF is rarely a preferred wood for pocket holes, but plywood, especially for cabinet carcasses, like kitchen and bathroom cabinets is a good choice.
In terms of furniture-making, although Pine is a favorite because it is widely available and somewhat inexpensive to use, it's not an ideal pocket hole wood, the screws do not hold all that well and they tend to strip during assembly (especially for some of us who are bit more aggressive with the tightening of the pocket hole screws). The BEST alternative for using pine is to - HAND TIGHTEN - pocket hole screws, but alternatively, selecting another, harder wood, that is more pocket hole friendly, is an even better choice.

I always recommend gluing pocket hole joints *unless they for an outdoor project*. You can still glue these but it's often a waste of time because outdoor projects get wet and the wood swells, then the dry and the wood shrinks, then the freeze and the wood shrinks, then they get hot and the wood can swell so there is often TONS of wood moment in outdoor projects, and often the woods are quite oily, like cedar, and glues do not stick to these woods for long, or very firmly, but pocket holes screws will continue to hold, and can even be hand tightened from time to time if they loosen.
For indoor projects, I always recommend gluing. In many cases you are dealing with end grain wood and even this wood can be glue far more effectively if you lay a layer of glue on the end grain, then let it sit for 15 or so minutes, then give it another coat of glue and attach. This method makes a huge difference in the strength of using glues in end grain wood.
And clamping ... always, always clamp before you drive screws into your pocket holes. If you do not, very often the screws will find their own path in the grain of the wood they are entering and even trying to hold these woods by hand means the screws can make your board mis-align and when this happens it is almost impossible to get them back. Almost always, taking the screws out, clamping and re-screwing does not work. The only thing that can work is to take the wood apart, fill the holes with wood glue and even a wood sliver, allow to harden overnight and re-try with clamping the next day ... that's why clamping is imperative for EVERY pocket hole screw insertion ...

Here is another form of clamping that works particularly well for making furniture, like tables, where you want a 'reveal" between the leg and the table apron to make the project look more professional.

Toggle Clamps available through Amazon

Check also for different sizes ...
And last but not least are the screws we use. I know many, many woodworkers use sheetrock screws like the black one shown below. They are inexpensive to purchase readily available and have a good grabbing ability ... BUT they are often brittle and the heads can break off quite easily. If you are using a softwood like pine, you may not have encountered a problem with his but the moment you go to a harder wood, you will begin to snap heads off and it only takes one head-snapping off inside one of your pocket holes, that you now have to figure out how to get out ... to make you want to switch to better quality screws.
The other problem with sheetrock screws is they are threaded all the way to the head, which means that sometimes they will tend to push your joints away and leave a gap because they can't draw the wood together properly as they are threaded top to bottom, unlike pocket hole screws which have no thread near the top so they can pull your wood joint together much more efficiently.
And the last problem with sheetrock screws is they are flat-top screws which means the underside is wedge-shaped unless you countersink for them, and even sometimes when you DO countersink for them ... they will STILL SPIT your wood, which is something you never want to happen in the bottom of the pocket hole.
You will never be sorry you used better quality screws !!!

Copyright - Colin Knecht
woodworkweb.com


