I try and remember to add some of my well-used tips and hacks, that I have been using for years, but some of them I have been using so long, I forget that many other people have never seen or heard of them so here today are some old and some new ...
Watch it on Youtube: https://youtu.be/GndgpO_IX_s
Mixing Shellac
I love using shellac, it frequently gives and nice tone to the wood without overpowering the color and while still protecting the wood, but the problem with shellac is that it doesn't last very well and needs to be made fresh ...
... somewhat frequently, depending on how much you use. Typically, I find that after about 3 months, it starts to get stringy and you can't use it when it gets to that point. What many people don't like is that every time you make a batch you need to weigh out a portion of shellac flakes, then mix that with volume measure of denatured alcohol (that you can pick up at your local drug store or chemist), some something like 2 ounces by weight of shellac flakes to 32 ounces by volume of denatured alcohol, or whatever quantities you think you will use.
Rather than try to find a scale and measuring jar every time I need to mix shellac, I created my own little measuring container using an old takeaway food container. I measure out the shellac I need and dumped it into the container and marked where the top of it came to ... then measure out the alcohol and did the same with that.

SHELLAC FLAKES AT AMAZON
Now every time I need mix shellac, my measuring container is in the same bag as my shellac flakes and it's quick and easy to get the proper quantities for mixing.
Woodworking Glue Bottle Solved
For as long as I can remember I have been using Titebond glue for much of my gluing and I like to purchase it in bulk, which is not always a convenient way of dispensing glue, so I pour it in smaller containers, and Iove the little yellow mustard containers for many glue-ups. BUT ... sometimes I need more glue much quicker than the little mustard bottle can deliver, or just pouring glue from my bulk size container into a smaller one.
What I discovered recently is that many of the bottles that we use in our kitchens, which happen to have a variety of different openings .. also match the same thread that is used on many glue bottle lids ... which makes all these same lids able to be mix and matched to different containers ... how cool is this.

The one I like the best is that the Miracle Whip top, which happens to have a slot in it ... is the perfect glue dispenser for long narrow glue-ups. I dispense the glue nicely over the length of the wood, the then it can be recapped, and if glue dries a bit around the opening, and it's pretty easy to clean. Go ahead, have a look at your glue bottle tops, and see if they happen to match the same lids on your Kitchen condiment collection ...
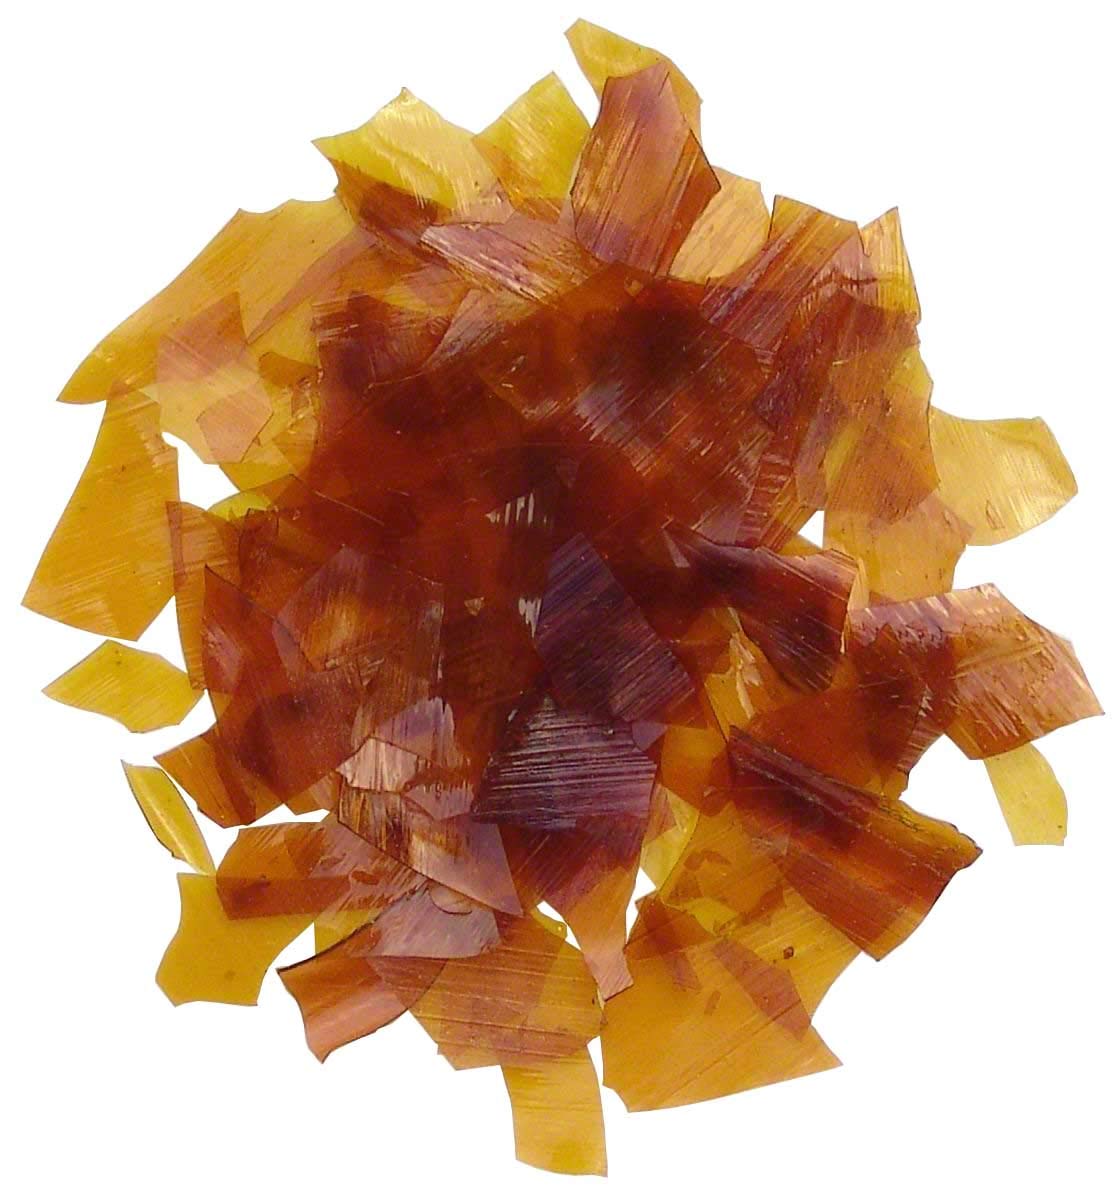
Epoxy Mix
... and speaking of mixing ... those cast off plastic laminate chunks that I get from time to time from my local countertop builder, are great for mixing epoxy. I like them because the are clean and you can make it any size you need because you can cut the laminate with a knife, tin snips or even a heavier pair of scissors. I will often cut up a dozen or so of these in little 2" x 2" squares and just have them on hand.

Mitre Saw Tape Measure
I often find myself at the miter saw and need to measure a piece of wood to cut, so for years I have left one of my 3 matching tape measures at my miter saw, the problem is, sometimes it wanders, as tapes often do and when it sits on the top of the miter table, it can get covered in sawdust and cut-offs, depending on where I put it.

To solve all of these issues, I simply mounted a piece of steel bracing material to the edge of my mitre saw stand, and inserted some earth magnets under the clip and now the tape has it's own home on the mitre stand, and what's really interesting ... it has even solved the "tape wandering issue" that has plagued that tape years.
Solving Table Saw Out-feed Table Bend
Some time ago, I built a flip-up outfeed table for my table saw and it works amazingly well. When I built it I selected a flat piece of plywood to use and the whole thing worked well ... until summer arrived and the humidity went down. At least I think this what caused the very ends of my outfeed table to slightly bend upward. It's not an issue most of the time, but once in a while when I need to cut a very wide piece of plywood, I need to adjust those very ends of the outfeed table so they won't catch on the wood I am cutting.

To solve this problem I simply installed a small bolt lock to each end of the outfeed table, close enough that when the bolt is extended, it will slide underneath the fence support bracket on my saw. Then. I also made a couple of thin wedges that I can also insert between the bolt lock and the fence bracket that will help to slightly pull the outfeed table down far enough that any wood passing along the top of the table saw will not bump into the outfeed table.
It's a quick and simple solution that I don't need very often, but for boards that are both long and wide, it quickly and easily saves the day.
Copyright Colin Knecht
woodworkweb.com


