One of the reasons we make so many jigs in woodworking is to save ourselves from possible injury, and here is yet another woodworking appliance (some me call it a woodworking jig) that can go a long way to saving injury to your back from lifting heavy sheet goods like Plywoods, MDF and Strand-Board.
Save Your Back with this Plywood Dolly!
Many years ago I saw a picture of the item that looked similar to this which I saved, I can't remember where I saw the picture but I recall there were no dimensions or any indications of woods, etc, but it looked fairly simple to make ... boy was I wrong ...
As it turns out, I spend hours working on and perfecting this little appliance. I had to change the wheels twice, alter the base twice assembled, and disassembled 3 or 4 times either fully or partial and then when it looked like I had the final version, I realized that the sheet goods "flopped" when I put it in the appliance, the bottom wouldn't center and it was very awkward to navigate a slanted sheet, which is where the centering blocks came into play....

But finally, I came up with a combination of sizes and dimensions that works along with distances to help you assemble in a manner that should work well for you.
Parts list
Base - 2 pieces - 3/4" plywood 8" x 11"
Clasping Up-rights - 2 pieces - 3/4" x 4" x 5-1/2"
45 Degree Brace - 2 pieces - 3/4" (or greater) 4" x 4"
Centering Blocks - 2 pieces - 3/4" x 1" x 5-1/2"
The first thing I suggest is to use a 1/4" radius round-over bit for one edge of the clasping up-rights and the center blocks.
It is easies to do this with longer wood, so round over one edge of each of these then cut to length.
The 45-degree braces do not have to be 45 degrees, they can be just 4" x 4" squares, you can attach these to the clasping pieces using suitable screws at any time, MAKE SURE the rounded over the edge is on the opposite side of the round over you just made.
To make sure your screws do not split the wood, use a C-clamp or make a pilot hole

Next, attach the clasping pieces with a brace attached to the bases. The clasping pieces will want to be centered on the 11" length of the base, and they will want to be 1-1/2" on the leading edge of the clasping assembly to the edge of the base that will be pivoting. So in other words, the leading edge of the clasping assembly has the round over on the top and that leading-edge wants to be 1.5" to what will be the center of the appliance.
After this is done, now would be a good time to attach the centering blocks, again with the rounded over edge facing what will be the center of the appliance.
Now it's time to attach the hinges you have selected. Either a piano-type hinge or a couple of individual hinges on either side of the clasping assembly. Make sure that the pin side is down so that the flattest side of the hinge is facing up. This will normally mean you will need to route out or chisel out an area for the pin side of the hinge to fit into because the 2 sides of the base want to be nearly touching when the hinges are finally attached.


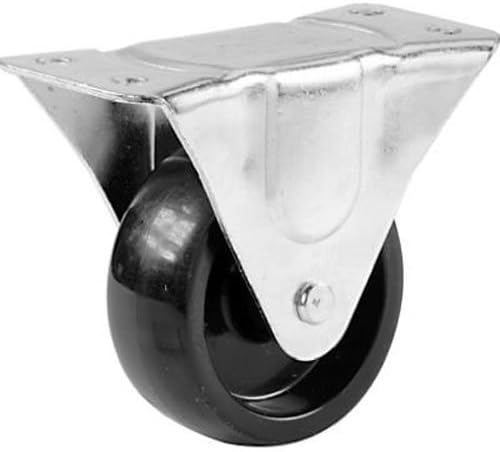
Lastly, you can now attach the wheels. The wheels I used are 2-1/2" wheels, but the overall height, which is the important measurement here, is 3-1/2". If the overall height of your wheels is more or less a half-inch or so greater or lesser, that should still be fine. If they are much shorter you will need to experiment with moving the wheels closer to the center but bear in mind that larger wheels roll easier so purchasing tiny wheels can be counterproductive for this or any wheeled device. If your wheels are much larger than 3.5 to 4" you may need to check the distance.
These wheels from Amazon 2.5" Ridgid Shepare Wheels with an overall height of 3.25" and would fit this project nicely
you can check them out at the link below

The last thing to add to your appliance is some sort of anti-skid material. I recommend "Great Tape" because it already comes with a sticky back, is quite wear resistant compared to a lot of the other mottled types I often use and you will likely find many other uses around your house for it ... even anti-skid pads under your carpet.
Here is a link to the woodworkweb Amazon Store where you can check out "Great Tape" carpet tape
I have been finding this little appliance a great "back saver", easy to load on unload and now I can save my energy for pivoting my sheet goods onto the sawhorses in order to break them down into smaller pieces ...

Copyright Colin Knecht
woodworkweb


