Every table saw comes with a miter gauge for cross-cutting wood but often these are not the best for cutting wider boards. The fix for this is for woodworkers to make their own crosscut sleds ... which I also have, and I, of course, overbuilt mine so it can do lots of things and it's accurate, but it also weighs 26 pounds - yes I actually weighed it. It's a hulk of a thing and often way more than I need to do one or 2 simple cuts on a wide board.
Watch it on Youtube: https://youtu.be/W6JV6gYq_yI
Yes, I have a good quality aftermarket miter gauge, and it works fine, but for wider boards, it's cumbersome to use so time to make miter gauge that is quick and accurate to use ... a speed sled.
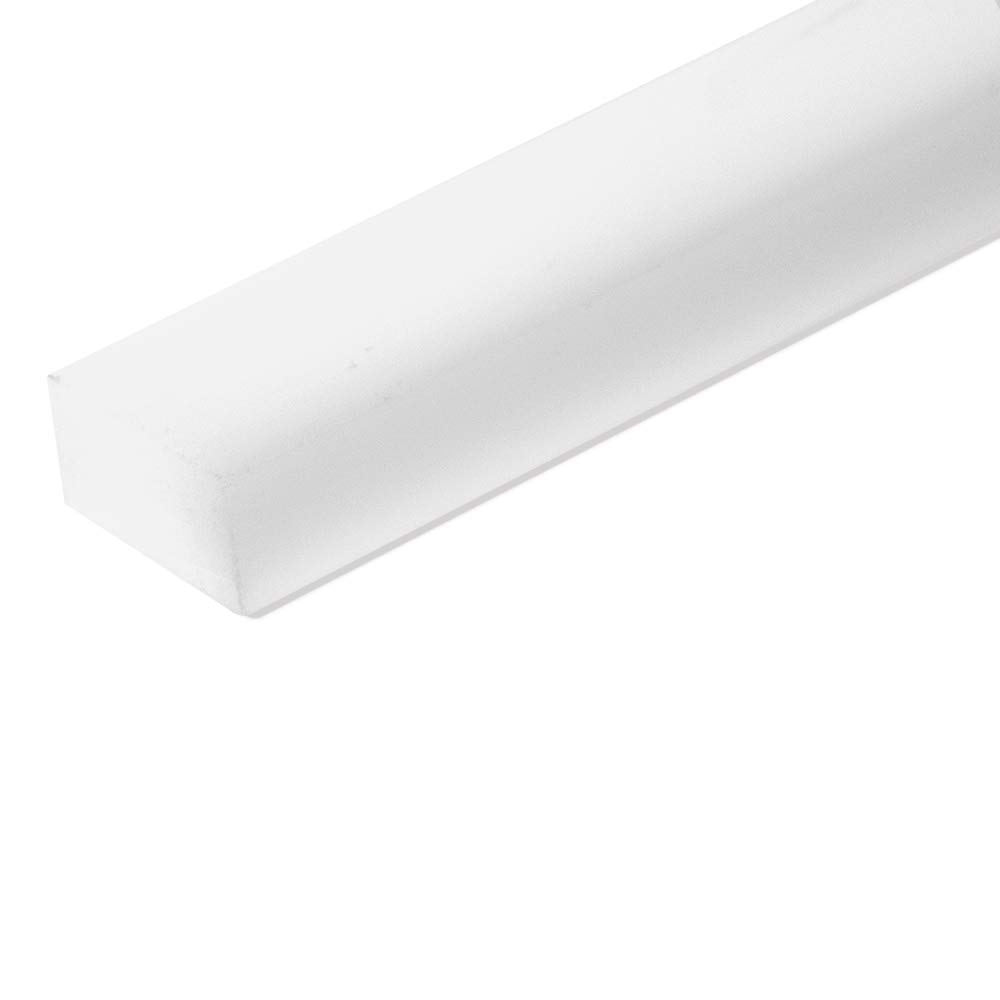
I started off with a18" deep x 19" wide x 3/8 thick piece of construction grade plywood that was very flat, not perfect, but good and would easily do what I wanted for this sled. I also have some of my own miter gauge blanks that I cut myself from raw plastic sheets that I pick up at the plastic shop, or you can purchase miter slot blanks through Amazon here - https://amzn.to/33OMK7C
The purpose of using 3/8 ply instead of 1/4 inch is that with slightly thicker plywood I get a slightly sturdier sled for using and for attaching the miter blank too.
For the miter fence, I chose some 3/4" x 2" x 18" natural wood that was straight-grained, then I laminated 2 of these pieces together. The reason for this is that I want my fence to be as stable as I can get it and by laminating wood together I reduce the risk of that fence warping of twisting over time. After the boards were glued and had dried I jointed 2 surfaces, the front, and the bottom and trimmed the height of the board to about 2 inches.
Attach Mitre Blank
The first step in making this sled is to attach the miter blank to the underside of the plywood base. I have found that the best way to attach the miter blank material is to countersink and drilled holes the appropriate size for the flat head screws.
If you try to lay the blank in the miter slot and attach from the top, the problem that often happens, is the that when the screw enters the plastic blank material, even when it has been pre-drilled, the plastic is displaced by the screw and the extruded plastic forms a lump between the plastic blank and the plywood base.

Easily the best way is to drive some small nails (I use 23 gauge pins with my air nailer) down through the plywood base and into the plastic, then remove the whole assembly and drive the screws in from the underside. Next, check to see if any of the screws have penetrated through the top of the plywood, if they have, just file them flush and you now have a well-attached blank, ready to attach a fence.
Aligning the Fence
The last thing that needs to be done is attaching the fence. This is done by attaching one side of the fence first of all which is done by drilling through from underneath the sled. Pre-drill a hole and attach one side of the fence. To be on the safe side, it's always a good idea to clamp the fence on the side as well so the screw you are driving in is not going to crack your fence when you drive that screw in.
Next, the fence will want to be aligned using a good quality square that you are confident is accurate, and aligning it with the miter slot and then with the fence. Pivot the fence so that it is perfectly at 90 degrees from the miter slot and that the square is seated and all is aligned. When the fence is aligned, lightly clamp the end that will have the screw driven into and double-check to make sure everything is aligned. If not, lightly tap the fence until you are confident it is perfectly aligned, then tighten the clamp ... CHECK ONE MORE TIME ... then flip the sled on it's back and drive in the other screw.
At this point it's probably wise to check to make sure the sled is aligned, and if it is you can countersink and drive another screw or 2 from underneath to make sure the fence is well attached.
Checking for Square
The last task is to check and see how well you have done and check the sled for square. For this, it's best to use a plywood or MDF product although natural wood is OK. The wood to be check should be at least 8 inches wide in order to have enough wood to check, thin strips of wood are not wide enough to get an accurate reading.

Make sure the base of your wood being checked is flat and even, and if possible, has been through a jointer.
Make one pass through your test material and check with your fixed steel square. If you find it is off enough that it needs to be re-done, simply undo one of the screws to allow the fence to pivot again and re-set the alignment. Don't be satisfied until you have a highly accurate test cut. This speed sled can be a real workhorse for you, but it needs to be set up and accurate.
Super Accurate Checking for Square
If you want to check for square even more accurately ... (this system is most often used for multi-sided projects like hexagons or octagons) you can do that also by making 2 more passes on the same board as shown below. Make your first pass, as usual, the re-set your test piece so the number 1 is now against the fence after that cut set the number 2 against the fence and make a final cut.
Now check the "B" side and the "3" side with your square. This side will be exaggerating your cut so it's not uncommon that this cut might be off slightly, and if it is off square by more than you want, simply re-set your fence then re-check.

Mitre Speed Sled
No matter what table saw you have, this speed sled will serve you very well, it's light, quick and easy to use and when set up, can give excellent, repeatable results ...

Copyright Colin Knecht
Woodworkweb.com


