Woodworkers are fascinated by dovetail joints and the art of dovetailing. No other joint gets anywhere near the amount of attention as the lovely dovetail joint. There are so many ways of making dovetail joints, by hand, by machine and the numbers of different tools and jigs and assorted accessories to make these joints is really quite remarkable. Guess What ... here is yet another.
Dovetail Joint Marking Gauge for Cutting Dovetails by Hand
This is a new kind of marking gauge for me, and as one who is not proficient and making dovetail joints, hopefully, it will make things a tiny bit easier ... but I do know that the only real way of making good, consistent dovetails is practice, practice, practice ...
To make this marking gauge I started off with a couple of Oak blanks, 12 inches long and 2-1/4 inches wide and 3/8 inch thick. I want to make 2 inserts for the base of the gauge, one to use as my marking gauge another to do a bit of experimenting with.

There are no real "standards" when it comes to cutting dovetails, but there are some move frequently used angles that seem to get used like 6;1 7:1, 8:1 and more, all of these refer to height to width, so 6:1 would be one inch wide by 6 inches high at right angles gives a specific angle degree as does 7:1 and 8:1 etc. I chose the 7:1 which is about 7.5 degrees of 15 degrees combined on each angle.
Remember, all of these angles often do not mean much, they are just angles and don't really make much difference in how they are cut, their strength or how they come together, but some people have certain preferences. With a dovetail joint, just as with box joint, or even finger joints, which makes 95% of the strength of the joint is the glue that binds them together. The dovetail joint without glue does have some strength, and of course, the more extreme the angle the more strength, but generally glue is the binder.
The first step is to route out a slot in the middle of the blanks. This takes careful measuring, but even if the slot is off center slightly, it will still work fine. I made my slot a little bit short at 2-5" long. If I make future inserts I will make the slot about an inch longer to give it more flexibility in use.
I used a 1/4" spiral up router bit to cut my slots because I had matched a hanger bold of 1/4: diameter to that specific size.
After the slots are cut, what is very critical is marking the where the center of the slot is going to meet at so the angles can be cut on each side of the blank. If the slot is off center, now is the time to trim one side or the other of your blank to make sure the slot is exactly in the middle of the blank from side to side.

If you are going to use a miter saw or table saw to cut the angles, the tip of the angles will want to stop at least one inch from the tip of your blank. The reason for this is so that the blank is supported when you flip it over to cut the other side.
Whatever saw you use to cut the angles, the blade wants to be at least a sharp, 60 tooth thin kerf blade in order to give you a clean sharp edge. You cannot re-cut these angles if they are wrong or poorly cut.
Cutting the angled sides of this marking gauge using a sliding miter saw is fairly easy, but to be safe you need to make a holding jig for the blank. The first one I made, I cut the long side of the jig at an angle, then realized that it needed to be at 90 degrees to the end piece because the angle would be made by setting the saw, so I just simply re-cut that angle to 80 degrees in effect making a very large "L" shaped jig.

The cutting is quite straight forward, but go slow and easy and hold the wood down with some sort of a hold-down paddle that will ensure you have a good grip on the blank being cut but that your hand and fingers are well away from the blade. Also, your jig will need to be clamped firmly to the sliding miter saw.
Set your miter saw to 7.5 degrees if that is the angle you will work at, and go ahead and make the cut, then flip the blank over and cut the other side, being careful NOT to cut to the end of your blank. When you are making the cut, at the end of your cuts bull the saw blade back about half an inch while the blade winds down, otherwise the slowing blade can catch in the tip of your blank.

The final part of the gauge that needs to be made is the base. I used 3/4" plywood that was 3" x 5". It is very important with the base to make sure that the hanger bolts are positioned exactly at 80 degrees to the edge to use a good quality steel square for this. When you have the angle marked and the position of where the hanger bolts will be, I recommend pre-drilling these holes with a drill press or at least very careful, vertical holes using a cord or cordless drill. 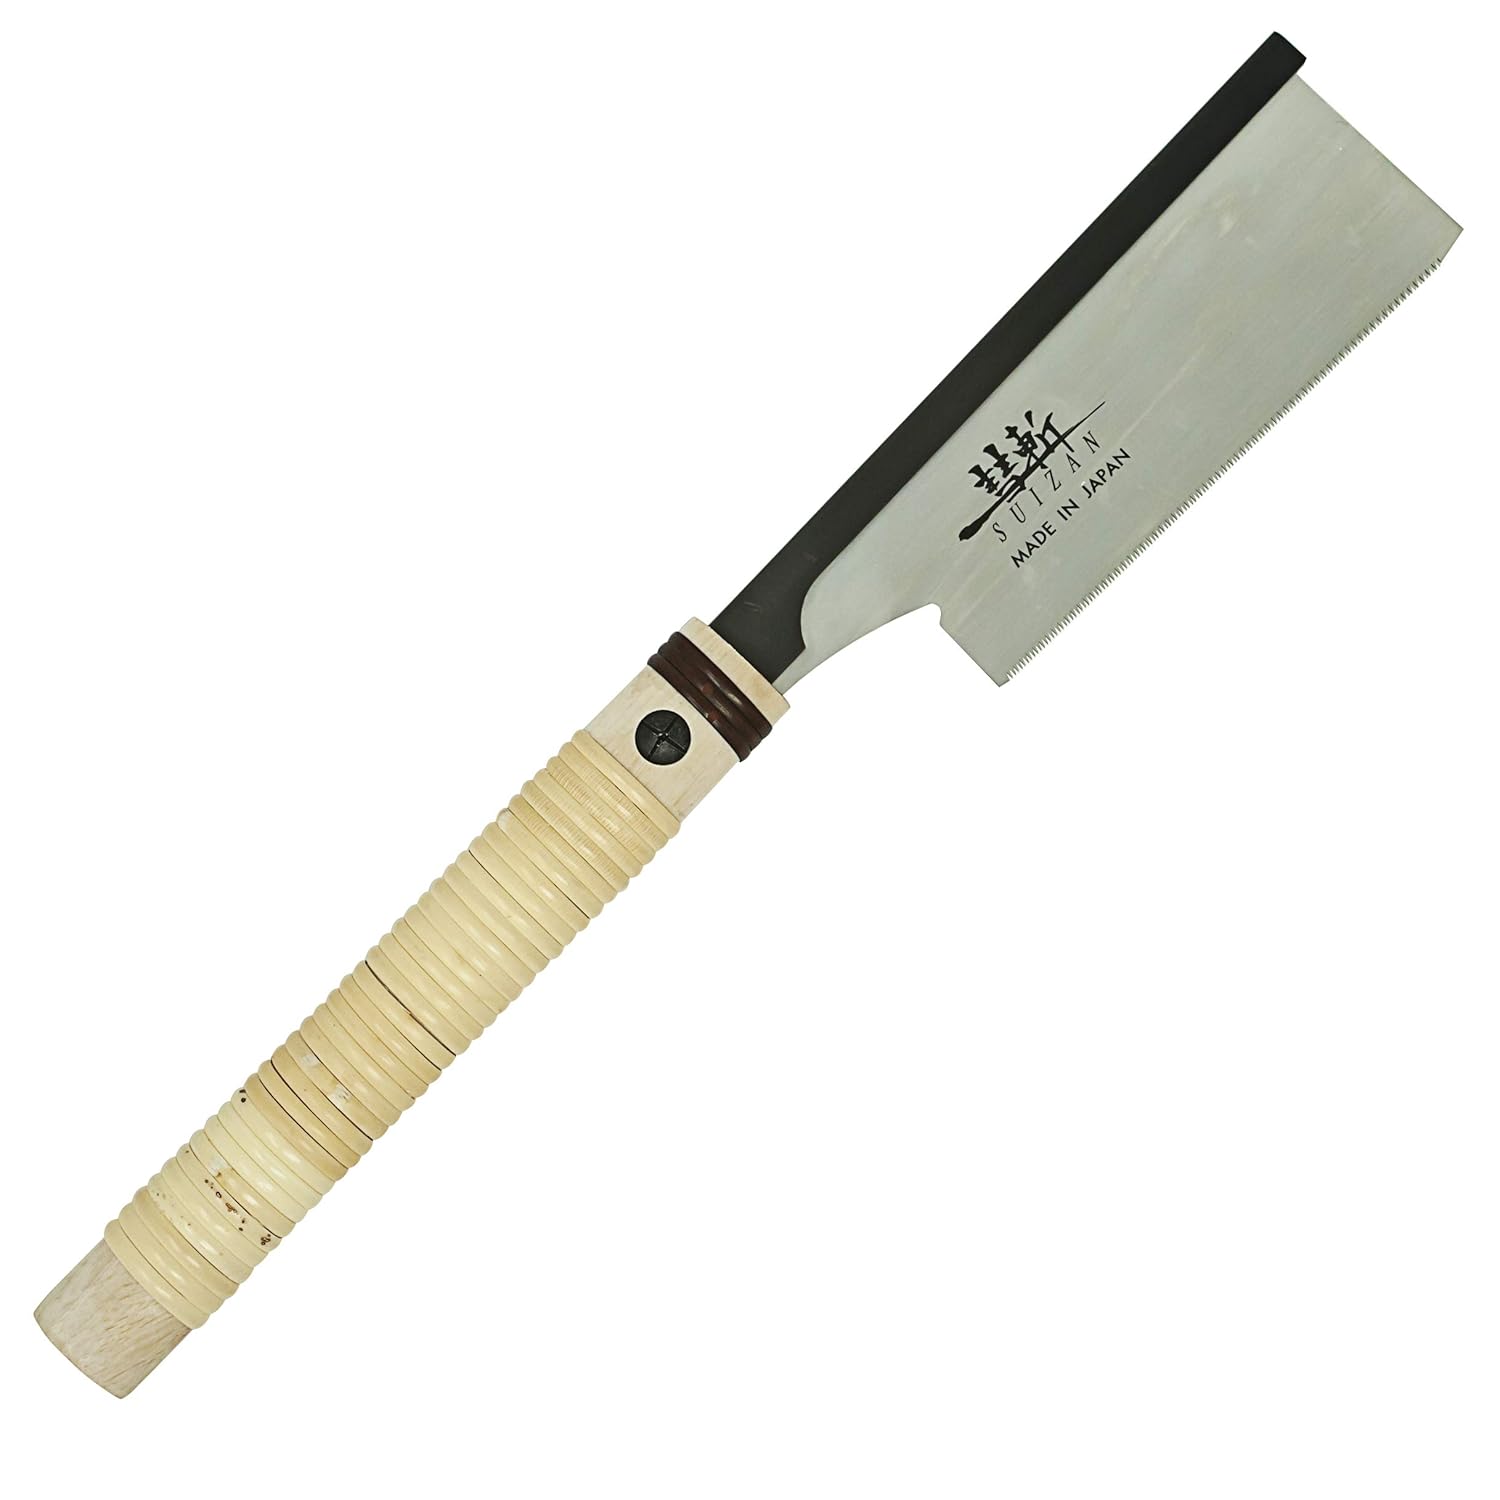
To finish up, the hanger bolts are screwed into the base, the angle gauge assembled that finished off with a couple of washers and nuts, or even wingnuts if you have ... that`s it ... you are ready to stat marking dovetail angles.
Now I need to find some time to start practicing with my Suizan Dovetail Saw
Copyright Colin Knecht
woodworkweb.com
Visit Amazon Affiliate Store - https://www.amazon.com/shop/woodworkweb

Check Out Woodworkweb T-Shirts - https://teespring.com/stores/woodworkweb-2

