It's fun to use different materials and different techniques from time to time in woodworking because it helps to expand our knowledge, techniques, and experience. Oh, and the fact that I am able to cross something off my list of "things to do around the house" is an even greater motivator. Not that are on my list were put there by me, and the shelving unit in the laundry room is one of them that was way down my list, but, while I have these Maksiwa Machines, the Edge Bander and Trimmer, I might as well use them while I can ...
Watch it on Youtube: https://youtu.be/v8KJYCVwbao
I don't often get a chance to use Melamine products because I am usually working with natural woods, so this is a real treat for me to work with something totally different and when it's done being built ... it's ready to use, no sanding, no prep work, no finishing ... it's ready to use right away ...
The unit I am making is being used to fill in the gap at the end of some cabinets that were installed when we bought the house. Why they did not extend the cabinets all the way to the wall is a mystery to me, but that's what they did and since it's only a laundry and utility room, and the existing cabinets are white, it would be nice to match them in size and color.

Now because this cabinet is filling in a gap between the existing cabinets and the wall, and it's above the washing machine, it would be awkward to put any doors on because one door is really too large and 2 opposing doors would be hard to open, so we (well I decided) that we would simply put in an open shelf unit that would be easy to access things from, would still fit in and would match the existing cabinets.

It's really a pretty easy build. I measure the size of the existing cabinets and cut all the new melamine pieces to that depth, and the sides, to the same height of the existing cabinets.
Next, I needed to cut a dado in the back of the 2 sides and the top shelf of the new cabinet. Since now of the sides will show, I was able to make through dado (rather than stop dado) a much easier alternative. The cabinet has 3 shelf units, all the same length, but the middle and lower shelves will be inside the dado because the dado is being cut for the back panel of the cabinet.
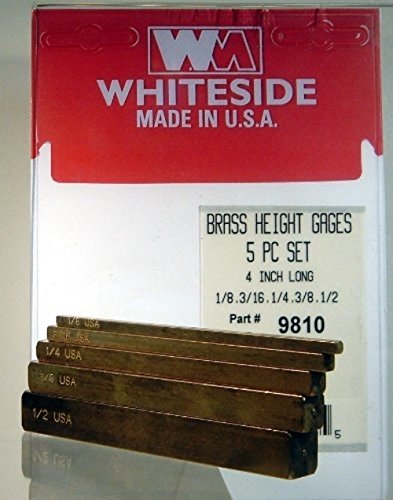
You can see in the video how I figure out where the dado would be, and after I cut the sides and the top, I simply raised the blade and cut the last 2 shelves to the depth of the back. Those measuring bars I use are like these on my Amazon Affiliate Store - Whiteside Brass Gauges
The edge banding next and depending on the project, I may edge band after the dados are cut, or before. In this case, it really doesn't make a difference so I cut the dado, then did the edge banding and trimming.

Once all the pieces are cut to width and height, next I needed to add a matching color band to the fronts to finish them off which involved the Maksiwa Edge Bander and then trimming the banding with the Edge Trimmer machine. I have used the "iron-on" method in the past, and it works OK for smaller projects, but it's a real treat to have these Maksiwa machines around to use ... I am really enjoying them.

When working with MDF products there are a few alternatives for assembly. Many cabinets, such as kitchen cabinets will have one side that is visible, but often most of the rest of the sides of the cabinets are hidden from view and only the front surfaces are visible, so attaching the cabinets can be a mixture of techniques. MDF cabinets is the reason Biscuit Joiners were invented, so they are definitely one alternative, dowels can also be used and even pocket holes in some cases, but what is most often used in commercial cabinets are air-driven staples. I made a couple a couple of joints and stapled them together to see how strong it is ... and it is a very strong joint, those staples go in quite deeply, seat very well and hold firmly, If you have ever had to take melamine cabinets apart, you will know just how tough they really are ... so that's what I opted to use ... staples.
The final touch for me was to add a cleat, or "french cleat" as it is often called for attaching the cabinet to the wall. I have used this process for decades because it's strong, easy to take the cabinets off the wall if needed and makes a nice clean look to the attachment.
This cabinet was completed in no time and attaching the mating cleat to the wall only too a couple of minutes, and then the whole cabinet could be lifted into place. A real treat for me ... no sanding, no finishing, I was able to start putting things on the shelf right away .,.. a quick, easy and economical way of making great, usable cabinets.
Woodworkweb Amazon Affiliate Store - https://www.amazon.com/shop/woodworkweb
Copyright Colin Knecht
Woodworkweb,com
