I love making wooden boxes and I am intrigued by how many different kinds and designs there are from bandsaw boxes to all forms of wood boxes. I have had this idea in my head for some time which is a combination of a few different designs all rolled into one and I wanted to see how easy or hard it would be to make.
Watch it on Youtube: https://youtu.be/KnBhp94-U0o
The basic box starts with the sides only, made from simple rabbet joinery, which even with plywood is quite strong. For this build I was using what I thought was "Baltic Birch" plywood, then halfway through I realized it was not Baltic, but some other wood that was somewhat similar. As you look at the pictures you will see quite a bit of veneer blow-out or tear-out...
... and as I was going along making this box I kept wondering why this Baltic birch was doing that, it normally does not have such drastic tear-out, then I finally realized I was NOT using Baltic birch at all, but something else ... but I was so far into the build, AND, after all, it was an experiment ... so I carried on and I'm glad I did ... I learned lots.
Here is a picture of the finished box, the router, and the router plate jig I made to make the box.
I am NOT detailing the router plate in this video, I will save that for another video later on. I get many questions from new woodworkers on "how do I make router plate bases?" so that video will answer most of those questions.

This picture shows the corner, after the rabbet has been cut, and the rounded out part right in the corner has been chiseled away. Actually, I ended up using a sharp utility knife, which was how I figured out this was not Baltic birch because the cores were far too soft to use a utility knife on Baltic birch.
You can also see how the rabbet joint fits nicely for the corners of the box.

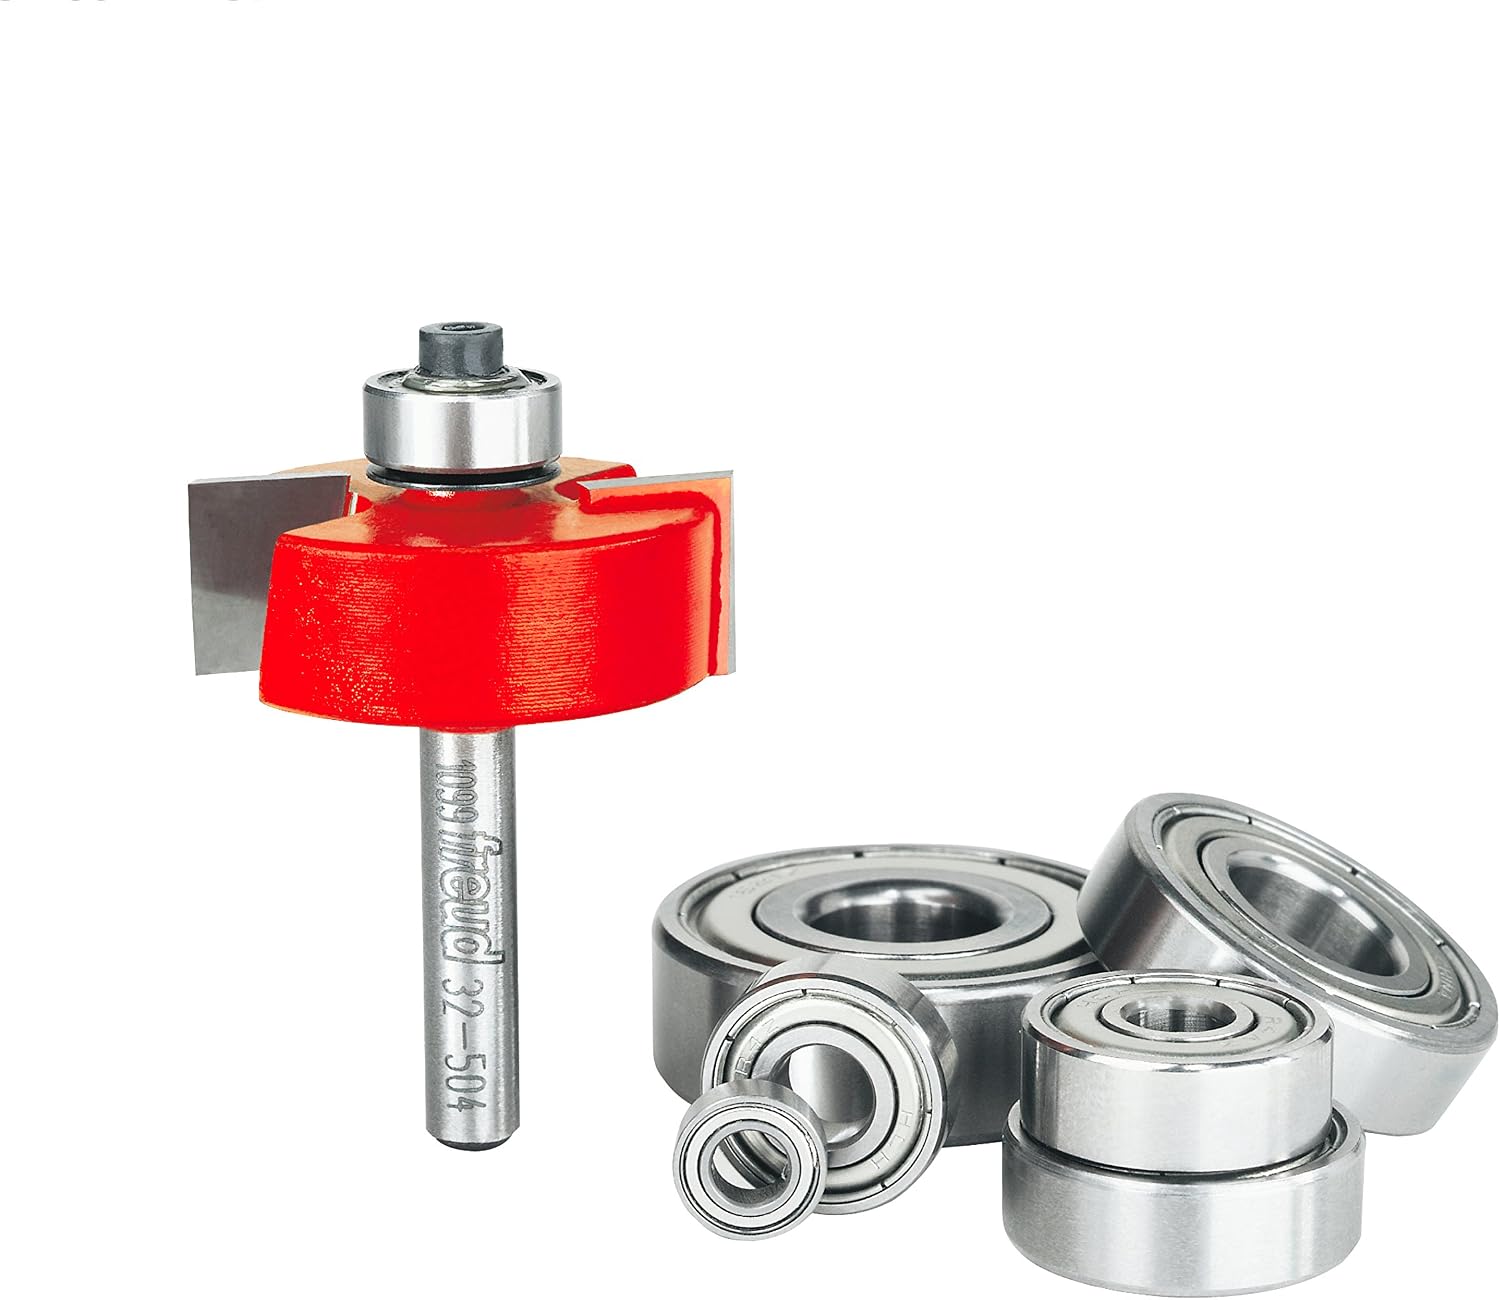
I used a Freud adjustable rabbeting bit for both the inside and outside rabbets on all cuts. These bits come as a kit with the router cutter bit and a number of different interchangeable bearing so you have a whole host of different options of cutting rabbets either hand-held or on your router table.
To see more about this Freud Rabbeting bit check out the woodworkweb Amazon Store

The first cut I made on the basic box, was to cut a rabbet for the top and the bottom of the box. I did not want to use more half in plywood for the top and bottom, because all it does is add a lot of weight to the box for no apparent reason. I am not storing gold bullion in the box so it doesn't need need to hold large amounts of weight, it is more for "containment" of different woodworking accessories and parts.
I really liked how the rounded corners made it easy to attach a top after the fact ... and the rounded corners are a novel idea that I have not seen on boxes ... not saying anyone is not doing this, just that I have not seen it before. This would be particularly nice with contrasting woods. 
After the top and bottom were glued in place and dried long enough to be stable, I took a moment to cut off the "lid" of the box on my table saw.
With the lid off, the next thing was to adjust my rabbeting bit to a comfortable depth, in my case I set the bit to cut 1/4" deep which nicely matched the width of the rabbet which was also 1/4". (so the dimensions of the rabbet cut are 1/4" x 1/4")

Next, I cut the bottom of the box, and in this case, the rabbet is on the OUTSIDE of the box.
I should also have mentioned I cut the inside of the lid barely slightly deeper than the outside or base because I did not want the lip on the base of the box to "crash" against the top and thus avoid the lid for nicely on the base with no gap between the lid and base.

There you can see both cuts and I think you can see the lid rabbet is a tiny bit deep than the base of the box.

And there is the finished box ... sadly with all the blow-out and tear-out, and now I know I will not use this wood with the router for these kinds of cuts ... but in the end, I was thrilled with the box. It has a nice weight without being too heavy, the lid fits like a glove ... very happy with that, and the top and the bottom have a whole world of different options that could be used for all sorts of different boxes ... all in all, it was a design very much worth exploring and something I will do more of in the future.
I think my next version of this will be with Spalted Wood ...
Copyright Colin Knecht
woodworkweb.com


