 Not everyone has the room, or the budget for a lovely wine room and for those who still like to have a few nice bottles of wine on hand, or to maybe show off some vintage collection, this little wine rack is perfect. It only holds 6 bottles but it is small enough to display your wine collection on a dinning room hutch, a side table, perhaps on a kitchen or serving counter and still look great.
All in all the wine rack is easy to build but there are a few things you need to keep in mind. The first and most important thing is that sizes are critical. In our case we were using 3/8 notches and 3/8" width wood and in order for the wood to fit the notches in a nice snug fit, the wood needs to be milled and sanded to a very accurate width.
The second most important thing to consider is the wood. You need to make sure the wood is a good, quality hard wood and that the grain is tight and straight-grained because it will be holding 6 bottles of wine, so any cross-grain wood will not be good.
For our version the dimensions of the blank frame are 3/8" thick by 5-7/8" wide and 16" long. The wood I chose was something called Arbutus or Madrona, a very hard wood that tends to chip but finishes well because it is so hard.
I was lucky in that the Arbutus blank I started with was very straight grained and it was 5/4" in width but was still rough cut wood. I was concerned that when I planed both faces flat and parallel that there would be enough wood that I could get the 2 frames from this but it worked out well. So the methodology I used was to rough cut my blank, then joint one edge. Because the wood was quite flat I was then able to cut the wood to width on the table saw, which gave me the 5-7/8".
Next I took the wood to the joint and jointed one face flat, from there I could take this blank to the planer and end up with 2 flat faces. At this point the blank was still about one inch thick so I knew there would be enough wood to slice the wood in half on the bandsaw ... then it was back to the planer to finish off the rough cutting from the bandsaw.
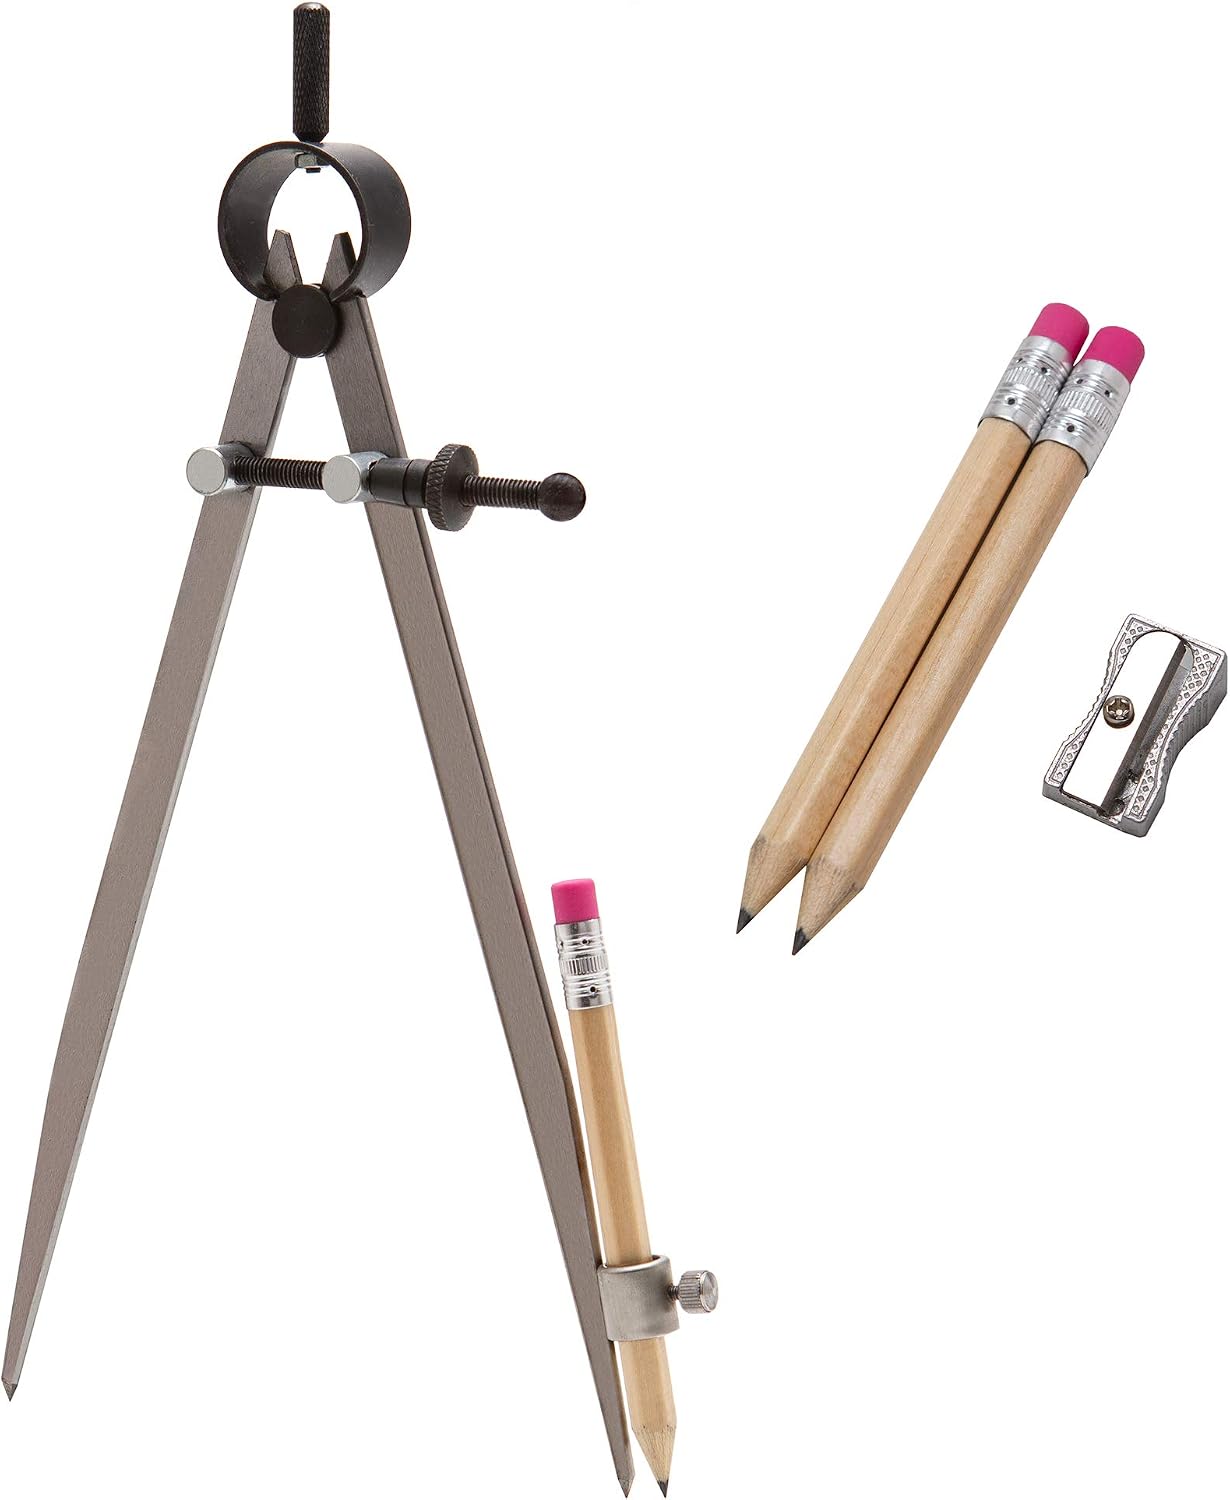
ALLY Tools Professional 8 Inche Precision Compass
After trimming the ends square and 16" long I now had the 2 frame blanks and needed to cut out the middle. Because all the framework on the wine rack wanted to be 3/4" wide I was able to use a compass to draw the half circles that needed to be cut out of the centers. The radius was 4-3/16" Cutting out the center was a bit of a challenge. I was lucky in that I had a scroll saw to use but this could also be cut out using a jig saw. If someone took the time to make a template, using a router and flush trim bit would probably give the best results. Sanding ... I HATE sanding but even the scroll saw didn't leave a nice clean cut so now the wood needs to be trimmed and sanded on the inside, which is a challenge. In my case I used some mini drum sanding sleeves that fit on my drill press, they are a bit hookey but they work.
Next was to cut out the strips that would support the wine bottles. These strips would be 3/8" thick by 3/4" wide and 6" long. These were pretty easy to make using the table saw and sliding mitre, but again they need to be cut exactly so setting up a stop on the sliding mitre is important.
I knew that finishing a project like this would be a bear, with so many different elements and joints, so pre-finishing was the only way to go. In my case I used my favorite >> go-to finish Osmo, which gave me an unbelievable satin finish that feels just like silk when you touch it it ... a perfect finish for this hard wood.
Once the 2 coats of finish were dry and hard, the next step is to cut the notches for all the pieces to fit together. Because we want to try and re-use dimensions with any project, it just looks better that way, we knew that the notches in the strips needed to be 3/4" from each end, and they needed to be 3/16" deep, because the combined notching on the frame would give us a full notch size of 3/8".
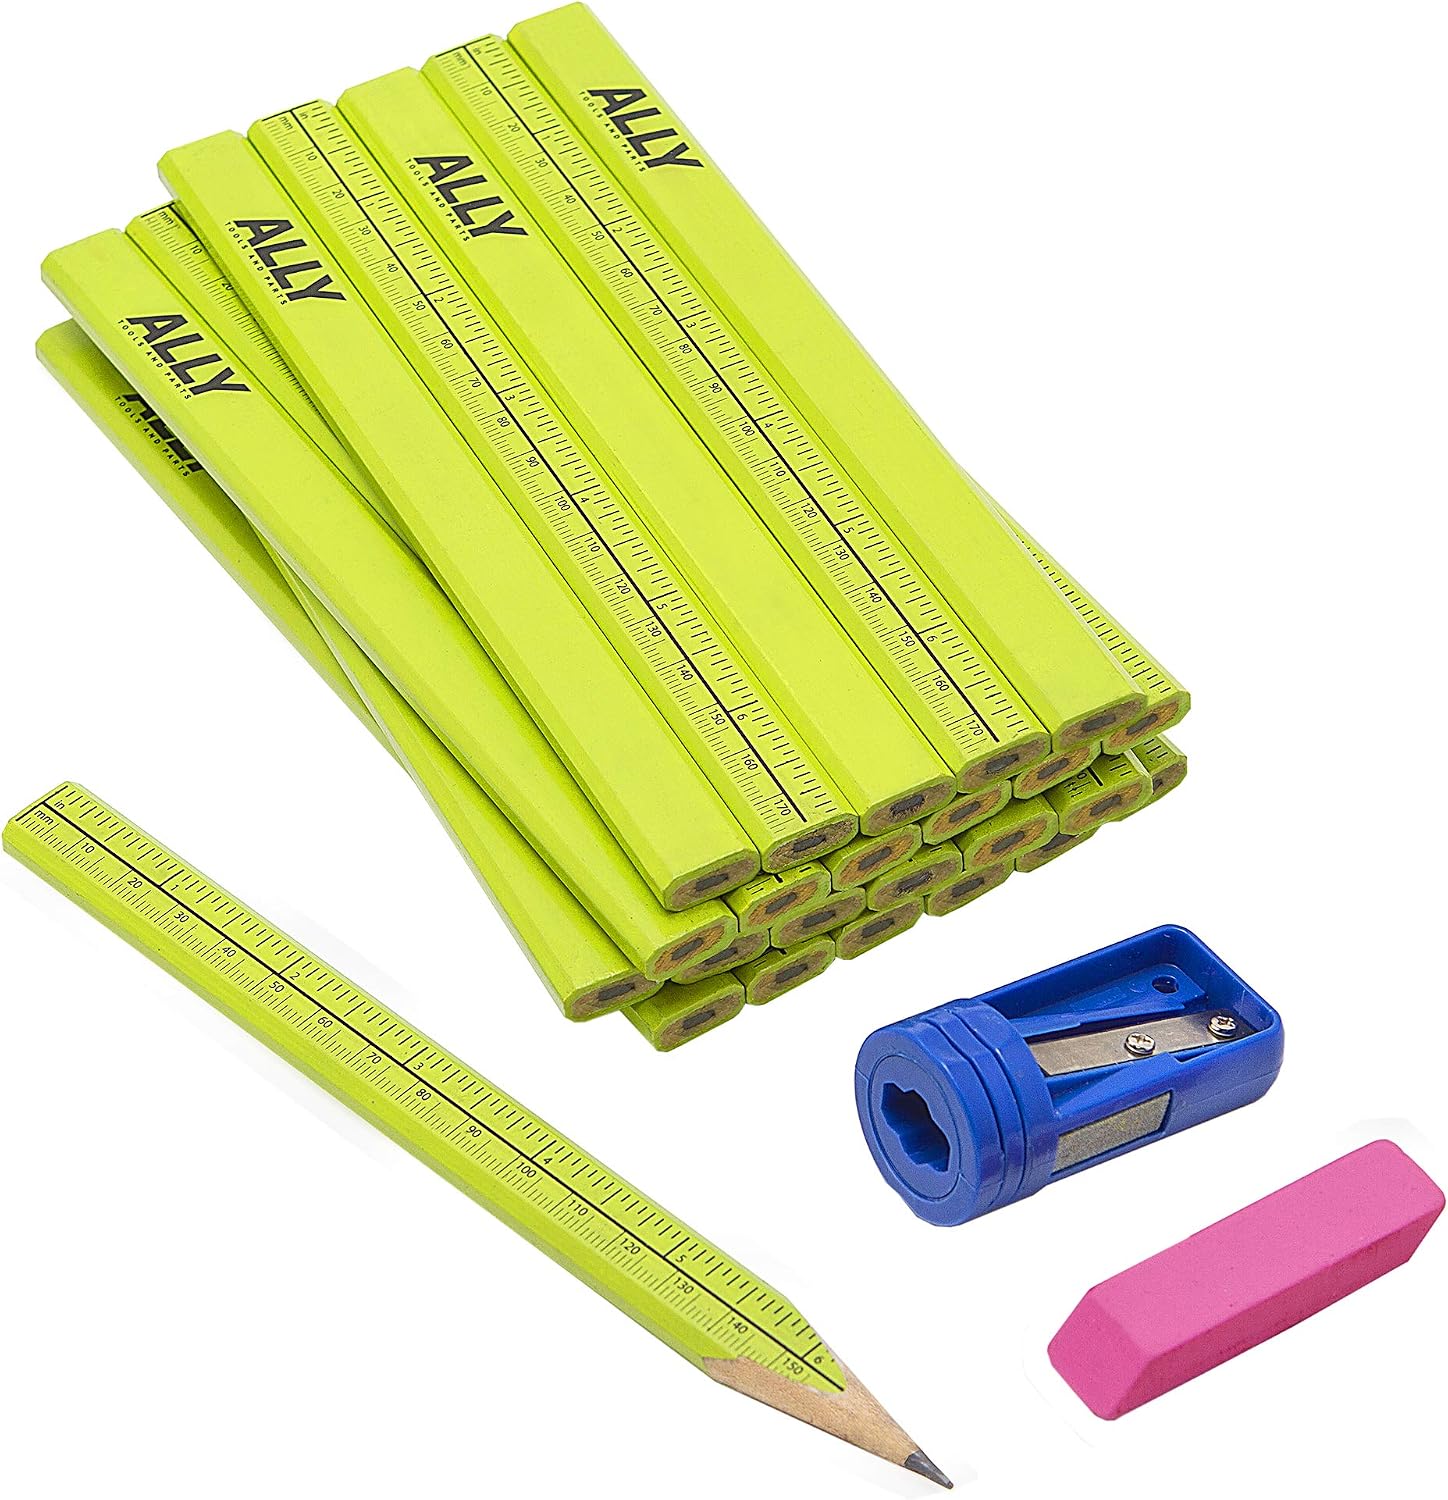
ALLY Tools 24 PC Neon Green Carpenter Pencil Kit
We used our Freud Box Joint blade set for cutting these and set the width at the 3/8" inch and it gave us perfect cuts. We started off with the 14 small strips of wood and gang cut them all first, then figured out the cutting pattern for the frame. Sadly we can only cut the notching for the feet and the upper set of cross pieces on the table saw. The inner cross piece notches need to be cut by hand. We did this by carefully measuring down with a square from the top and laying out each notch then cutting them with a fine draw-saw first of all, then cutting out the waste wood in the middle with a fret-saw and finally using a file to clean up the cut.
After dry fitting everything and make a few adjustments along the way, the wine rack was dis-assemble and a tiny drop of glue was used on each joint and the entire unit was put back together again using a drop of glue at each joint.
When you pre-finsih, don't be surprised if you need to make a small touch up or two in the end to make your piece perfect. We only needed to slight touch a couple of joints on the lower side that were hand cut.
This was a great little project that doesn't take too long to make and give an amazing result. We loved this little wine rack and will probably make some variations of it in the future ... hmmm, I'm thinking Bubinga with holly strips ....
Copyright - Colin Knecht
Woodworkweb.com


